
![ultimate-power:-lithium-ion-batteries-in-series-[hackaday]](https://i0.wp.com/upmytech.com/wp-content/uploads/2024/04/177076-ultimate-power-lithium-ion-batteries-in-series-hackaday-scaled.jpg?resize=800%2C445&ssl=1)
Ultimate Power: Lithium-Ion Batteries In Series [Hackaday]
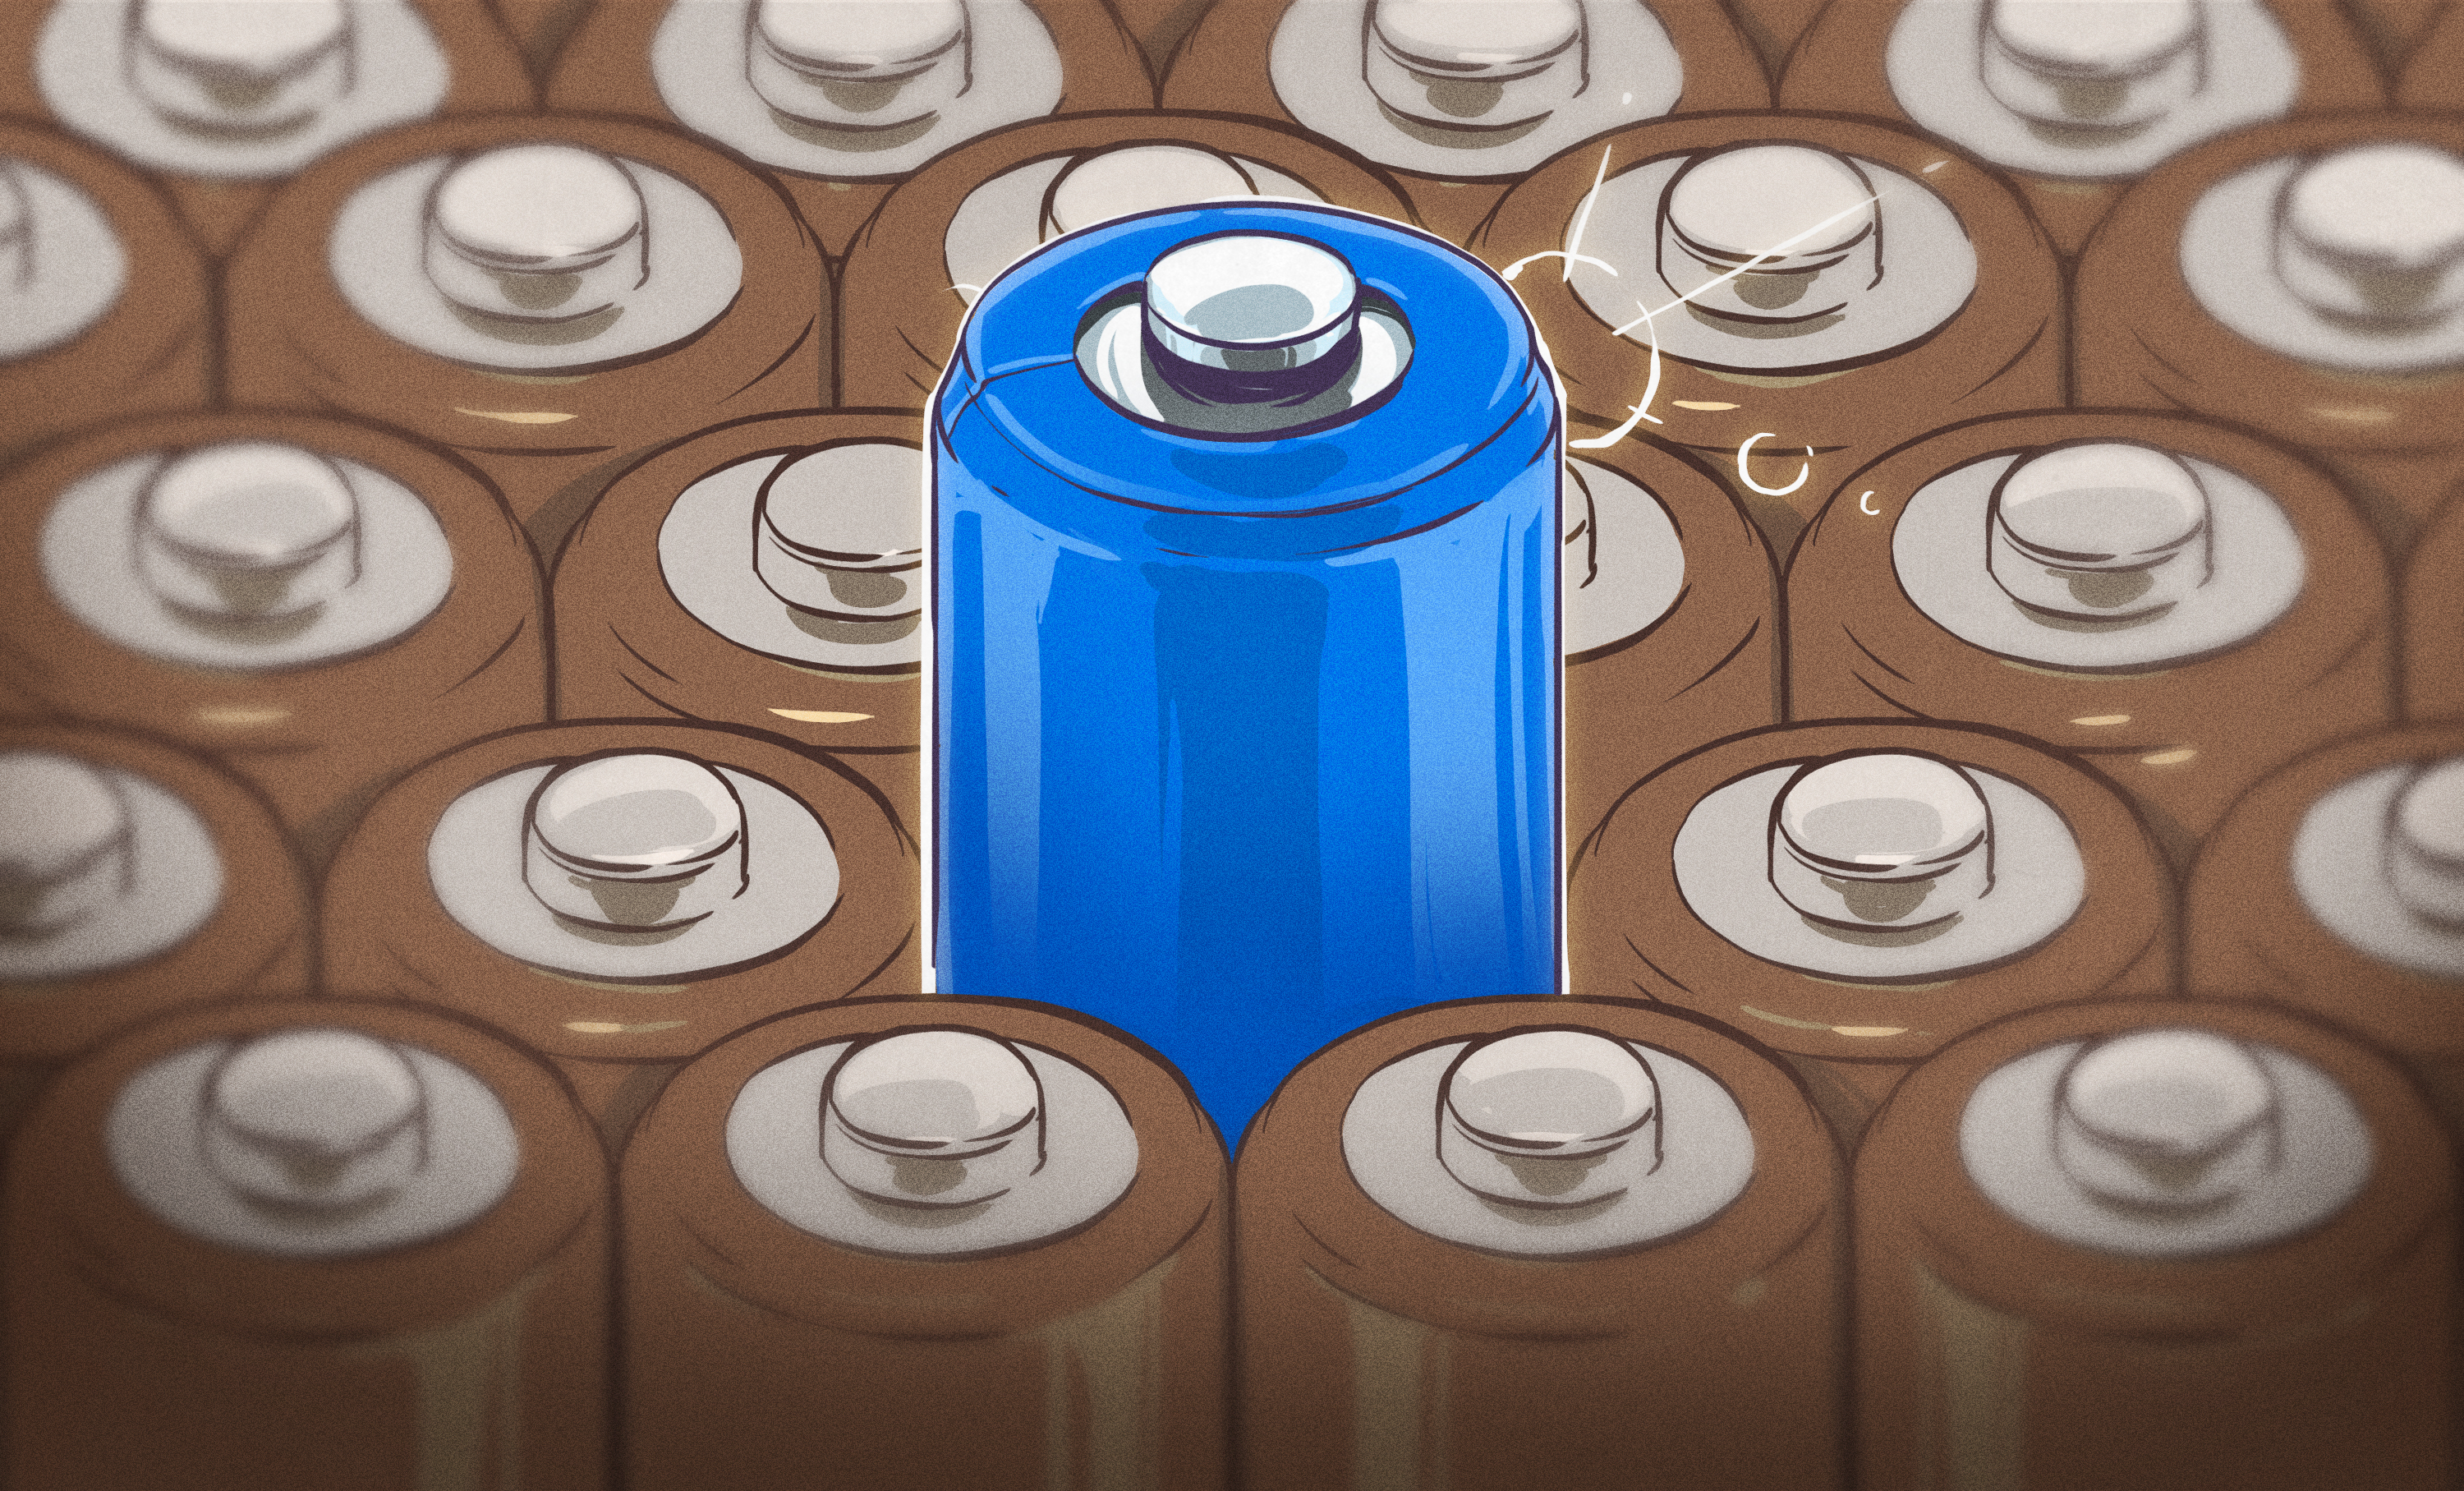
At some point, the 3.6 V of a single lithium ion battery just won’t do, and you’ll absolutely want to stack LiIon cells in series. When you need high power, you’ve either got to increase voltage or current, and currents above say 10 A require significantly beefed up components. This is how you’re able to charge your laptop from your USB-C powerbank, for instance.
Or maybe you just need higher voltages, and don’t feel like using a step-up converter, which brings along with it some level of inefficiency. Whatever your reasons, it’s time to put some cells into series.
Notation Confusion
The common notation for battery packs in parallel or series is XpYs – as in, the battery consists of Y cell “stages” in series, where each stage consists of X cells in parallel. So, putting three cells in series is 3s1p, a single cell is technically 1s1p, and two cells in parallel is 1s2p.

A less precise but more popular notation is just showing the pack voltage – either the final charge voltage (4.1 V to 4.3 V) or the nominal voltage (3.6 V to 3.8 V) of a single cell, multiplied by the amount of series stages. For instance, if you see 12.6 V pack voltage, it’s exceptionally likely to be a 3s?p pack (4.23), and if it’s 14.4 V, it’s likely a 4s?p pack (3.64). This notation is less precise, because you don’t know the number of cells and you have to deduce cell voltage was used for calculations, but it’s the one that’s most often actually put on product and battery labels.

This obviously becomes a problem when you’re working with packs like ebike batteries. What does 52 V represent? Is it, 14 3.7 V nominal stages, or is it 12 4.3 V full-charge stages? If that’s the value you see on the multimeter, is it a fully charged 12s pack, or a fully discharged 15s-17s pack? Are you comfortable taking a guess? I wouldn’t be.
For charging and tailoring the electronics used for the battery, knowing the cell count matters a lot. So, if your battery simply states a voltage on the label, you will have to deduce the cell count before you can charge it. If you can, it might be worth to open the battery (very, very carefully) enough that you can physically count the cells and maybe even figure out the cell connections – if you can see that the pack has four-cells groups connected in parallel and you can count 60 cells in total, you have everything you need to understand it’s a 15s4p pack.
How Much Do You Really Get?
What about total capacity? Let’s talk that through. You will see packs use either milliamp-hours (mAh) or watt-hours (Wh) for capacity notation. When you see mAh, this is capacity per stage – the sum of capacity of all parallel cells in a single stage. Wh is the per-stage mAh multiplied by total pack voltage – typically the nominal voltage.

 carry a boarding
There’s one notable exception in mAh notation talking about stages – powerbanks. Even if your powerbank has a 2s2p configuration, they will sum up mAh capacity of all cells and put that number on the label. This number is exactly twice the actual mAh capacity of the battery, though. mAh are a primary figure for powerbank capacity marketing.
So here’s a summary for working with unfamiliar packs. If you see that a pack says 20 Wh, you don’t actually know anything about it, much less enough to charge it, but it should be easy to figure out. If you see that the pack is 120 Wh, you still don’t know enough, but at least now you know that it can’t be taken on a plane. Figure out the pack voltage and which kind it is – charging the battery fully and measuring the voltage should do it. Then, deduce the battery internal configuration and per-stage capacity, write them down, and maybe even put them on a sticker glued into the – if the manufacturer hasn’t done it for you, someone has to do a proper job.
If you’re designing something that can be taken on a plane, the 100 Wh limit has workarounds that you should be able to easily deduce from reading airport battery rules – I have taken flights while carrying approximately 300 Wh of batteries in my carry-on luggage. You, too, can pull such cool things off if you know enough about LiIon packs – so let’s continue learning! How do you build your own pack? Let’s wrap up by talking about cell selection.
Pick Your Cells Carefully
If you’ve ever taken old laptop batteries apart, you might already have an assortment of salvaged 18650 cells, and maybe you’ve even got few cell holders handy – if not, you should. If your plan is to be putting these cells in series, however, watch out – you can’t use any random cells.

I’m going to be quite serious here and dedicate the second half of the article to this topic, because it’s important. If you’re building a pack, the safest way to do it is taking cells that are as similar as possible before you put them together. The best way to do it is to buy a batch of cells from a reliable vendor. Not looking to do that for a particular project, maybe you need it urgently, or the budget’s low? That’s understandable, let’s show you what you need to know.
For every cell, you need to know two parameters – cell capacity and cell internal resistance. Those two need to at least approximately match if you’re building a pack. Naturally, if you combine cells from different sources, they’re not going to match well. However, you can still find cells that are good enough for your use! What happens if you don’t?
What Could Go Wrong?
Let’s look at a single parallel stage for a start. If you mismatch capacity between cells within a stage, then the stage capacity will be limited by the capacity of the cell with the lowest capacity. As soon as the lowest capacity cell’s energy is depleted, the cell’s voltage will sharply drop below safe voltage, and the cell will be charged from the other cells around it in quite unfavourable circumstances.

In the same parallel stage, if you mismatch the internal resistance within a stage, the lower-resistance cells will take more charge/discharge current than the others, increasing the load on it beyond what you would intend to put. Oh, and it’s going to heat up more, which will negatively impact its capacity/internal resistance, and heat up the cells it too, to the same effect. Both of these problems can cause the entire parallel stage to die with the cell affected – which is something you often see happen in laptops.
What about differences between stages, within the series configuration of the pack? If a stage has higher internal resistance than the others, it is going to heat up more, and it is going to drop more voltage – causing an annoying dip as soon as you draw current from the pack, and increased balancing complexity during charging. This, again, is a common fault in laptops and powerbanks, as well as e-bike batteries. As for capacity, a stage with lower capacity than other stages will limit the capacity of the entire bank, causing the same kind of dip. Not only that, but if you continue drawing energy from the pack after a stage’s capacity has been depleted, you’re going to be charging the drained stage in reverse – with potentially fiery results.
As you might notice, the mismatched internal resistance and capacity problems are similar, and that’s because internal resistance and capacity are tightly interlinked parameters of a LiIon cell. Fortunately, they’re easy to assess.
Assess, Configure, Equip
The simplest way to determine cell capacity is to get a cell tester. Those tend to be able to discharge and charge individual cells while also measuring parameters like capacity and internal resistance, and logging the results. There are quite a few cell testers, and it’s a popular project in the DIY scene too. You can test pouch cells the same way you would test 18650s, of course, just that it might require alligator clips or adapters.
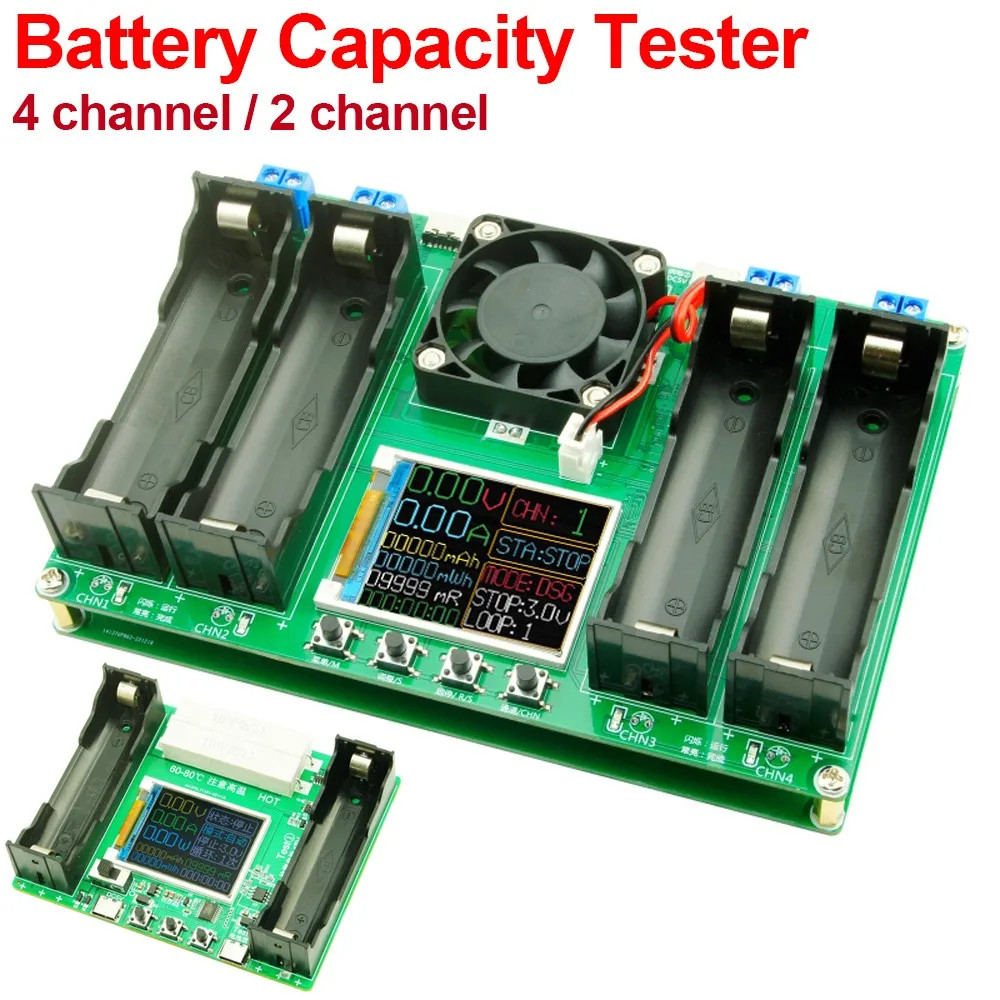
As for capacity, you can use a TP4056 charger to fully charge your cell and then use charging time as a proxy for capacity – you might not be able to differentiate a 3200 mAh cell and a 3100 mAh cell, but you’ll definitely notice a 2500 mAh cell standing out. Alternatively, you can use a resistor and note discharging time until reaching a certain voltage – while you can’t estimate capacity unless you’re also constantly measuring voltage, a rough estimate of discharge time will do.
Plus, take note of cell heating! If a cell is heating up beyond norm during charge or discharge, again, consider recycling it. Cell testers and chargers tend to measure temperature for this exact reason. Again, buying a bunch of cells from the same batch is the safest thing you could do, but if you can’t avoid combining cells, now you know what it takes to do so relatively safely, and what are the specific ways it can go wrong.
Today, let’s stop here, and next week, explain all the practical aspects of pack building and reuse. If you want to build a LiIon pack, which configuration do you pick? How do you charge it? What kind of protective electronics do you need? What else to watch out for? And what even is balancing? All of this and more will be explained the next week, and I hope this article can help.