
![meshtastic-and-owntracks-to-kick-your-google-habit-[hackaday]](https://i0.wp.com/upmytech.com/wp-content/uploads/2023/10/146744-meshtastic-and-owntracks-to-kick-your-google-habit-hackaday-scaled.jpg?resize=800%2C445&ssl=1)
Meshtastic and Owntracks to Kick your Google Habit [Hackaday]

I have an admission to make. I have a Google addiction. Not the normal addiction — I have a problem with Google Maps, and the timeline feature. I know, I’m giving my location data to Google, who does who-knows-what-all with it. But it’s convenient to have an easy way to share location with my wife, and very useful to track my business related travel for each month. What we could really use is a self-hosted, open source system to track locations and display location history. And for bonus points, let’s include some extra features, like the ability to track vehicles, kids, and pets that aren’t carrying a dedicated Internet connection.
You can read the title — you know where we’re going with this. We’re setting up an Owntracks service, and then tying it to Meshtastic for off-Internet usability. The backbone that makes this work is MQTT, a network message bus that has really found its niche in the Home Assistant project among others. It’s a simple protocol, where clients send brief messages labeled by topic, and can also subscribe to specific topics. For this little endeavor we’ll use the Mosquito MQTT broker.
One of the nice things about MQTT is that the messages are all text strings, and often take the form of JSON. When trying to get two applications to talking using a shared MQTT server, there may need to be a bit of translation. One application may label a field latitude, and the other shortens it to lat. The glue code to put these together is often known as an MQTT translator, or sometimes an MQTT bridge. This is a program that listens to a given topic, ingests each message, and sends it back to the MQTT server in a different format and topic name.
The last piece is Owntracks, which has a recorder project, which pulls locations from the MQTT server, and stores it locally. Then there’s Owntracks Frontend, which is a much nicer user interface, with some nice features like viewing movement a day at a time.
Getting started
So up first, pick a machine to host the service. We’ll use Docker-compose to build our mini-cluster of services. A Linux machine is a great choice, though it should be possible to run on Windows through either Docker desktop, or WSL. But if you go that route, you’re a bit on your own. You’ll need Docker and docker-compose, with the Docker service running — ideally set to autostart via systemd. And reminder, you’ll probably need to add your user to the “docker” group, with sudo gpasswd -a $USER docker.
Now just a quick note: I’m going to describe the process of setting this up from scratch. At the end of this article there will be a link to a Github repository, where you can grab nearly everything all at once.
It’ll help to read through the details at least once, to understand what we’re building, so hang in there.
We start by creating a folder in /etc, called owntracks-meshtastic. In that folder, we want to create a directory called mosquitto, and then create the mosquitto configuration file. We want to add two lines to that file, instructing our MQTT server to listen on port 1883, and to accept unauthenticated connections.
sudo mkdir /etc/owntracks-meshtastic
cd /etc/owntracks-meshtastic
sudo mkdir mosquitto
sudo touch mosquitto/mosquitto.conf
echo "allow_anonymous true" | sudo tee -a mosquitto/mosquitto.conf
echo "listener 1883" | sudo tee -a mosquitto/mosquitto.conf
With the configuration file in place, it’s time to start on our docker-compose.yml file, using sudo nano /etc/owntracks-meshtastic/docker-compose.yml. A docker compose file is really pretty simple once you break it down into parts. We start with a services heading, and under that will be a block for each docker service we want to run. Each block starts with a service name, and includes the Docker image itself, what files and folders we want to map into the Docker image, and what ports to expose. For Mosquitto, we just need the configuration file and a pair of ports for sending MQTT data.
services:
  mosquitto:
    image: eclipse-mosquitto
    volumes:
      - /etc/owntracks-meshtastic/mosquitto:/mosquitto/config
    ports:
      - 1883:1883
      - 9001:9001
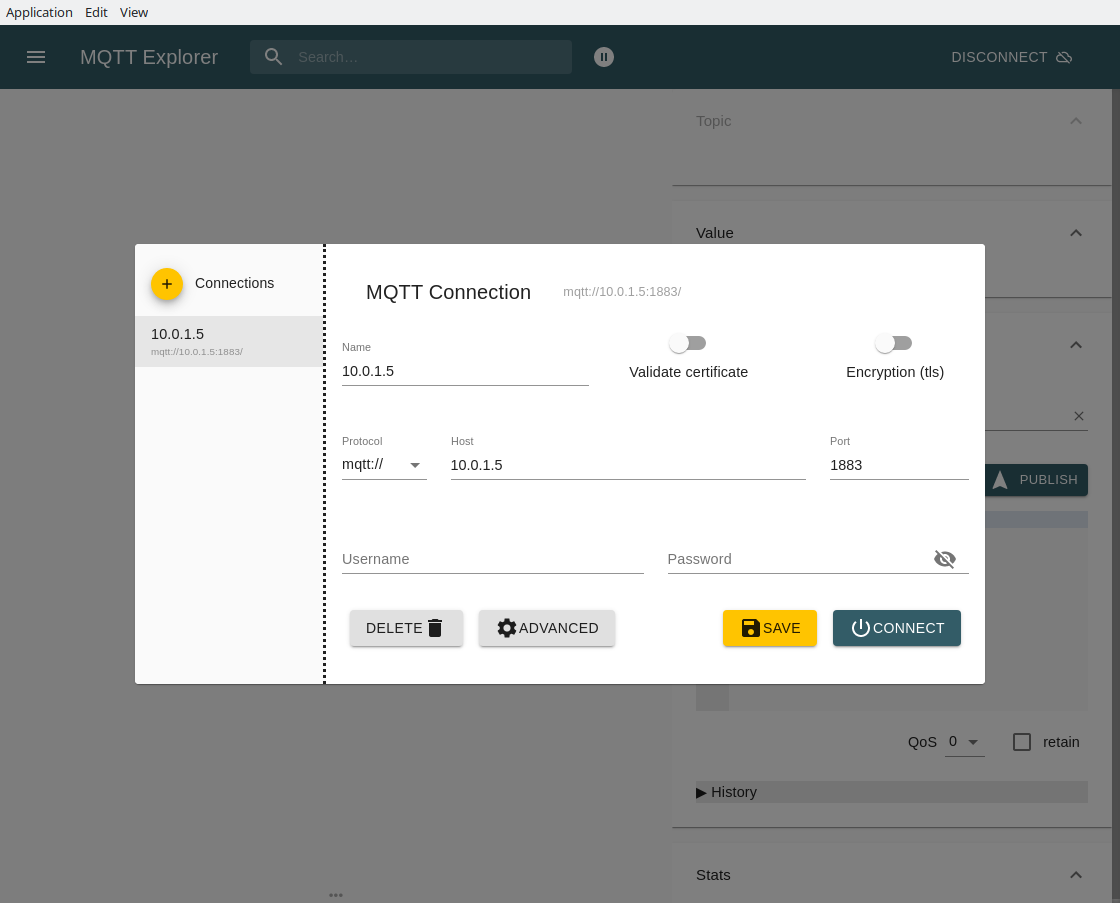
Once that file is saved, we start a test-run by running a simple docker-compose up. This should download the Mosquitto docker image and start it up. Then we can use a simple client like MQTT Explorer to make sure that we’re actually running. If your OS has any firewalls in place, this is the time to add an MQTT exception to the firewall. Once you’re ready to go back to working on configuration, use Ctrl+c and run docker-compose down
First Real Data
We have enough of our system in place to start sending some real data. For this we need a Meshtastic node to work as a base station. This will need to be a device that can connect to the network, likely over wifi. There are several great options, like a Heltec LoRa32 v3, the Lilygo T-Beam (ideally the one with the SX1262 LoRa chip), or the Station G1 for the increased transmit power. Regardless of which device we choose, we need to connect it to wifi to enable communication with our new MQTT service.
That’s most easily done through the Android or iOS app, through radio configuration, network, and setting the WiFi SSID and PSK. Then it’s on to MQTT Config, to turn on “MQTT Enabled”. Set the “MQTT Server Address” to the machine running Mosquitto, blank out “MQTT Username” and “MQTT Password”, and finally turn on “JSON output enabled”. The device will reboot, and should start sending data to the MQTT server. In MQTT Explorer, we’re looking for the “msh” topic.
Once that’s flowing, it’s time to add the next step, Meshtastic-bridge. We’ll start with creating the config file, sudo nano /etc/owntracks-meshtastic/config.yaml. We need to inform Meshtastic-bridge which server to use, and then set up a pipeline to convert the Meshtastic data to the MQTT format that Owntracks expects. You’ll need to update the server IP and populate the tid_table with your Meshtastic node IDs, which can be found using meshtastic --nodes.
mqtt_servers:
  - name: external
    server: YOURSERVERIP
    port: 1883
    topic: msh/2/json/#
    pipelines:
      owntrack:
      - owntracks_plugin:
          log_level: debug
          server_name: external
          tid_table:
            "!a56f7c45": ["Meshenger", "MS"]
Next we’re going to clone the meshtastic-bridge repository right into this folder, using sudo git clone https://github.com/jp-bennett/meshtastic-bridge. From there we add another service to our docker-compose.yml file to build a Docker image from that repository. We also pass our config file through as a Docker volume. Again use sudo nano /etc/owntracks-meshtastic/docker-compose.yml:
services:
  mosquitto:
    image: eclipse-mosquitto
    volumes:
      - /etc/owntracks-meshtastic/mosquitto:/mosquitto/config
    ports:
      - 1883:1883
      - 9001:9001
  meshtastic-bridge:
    build:
      context: /etc/owntracks-meshtastic/meshtastic-bridge
      dockerfile: Dockerfile
    volumes:
      - /etc/owntracks-meshtastic/config.yaml:/code/config.yaml
Map it!
Believe it or not, we’re nearly done. Up next is adding the Owntracks-recorder Docker image to our compose file. First, we need to create a data directory, using sudo mkdir store. Then it’s just a matter of adding the owntracks-recorder service to our docker-compose.yml and updating the IP address to our server IP again. Once again, use sudo nano /etc/owntracks-meshtastic/docker-compose.yml
services:
  mosquitto:
    image: eclipse-mosquitto
    volumes:
      - /etc/owntracks-meshtastic/mosquitto:/mosquitto/config
    ports:
      - 1883:1883
      - 9001:9001
  meshtastic-bridge:
    build:
      context: /etc/owntracks-meshtastic/meshtastic-bridge
      dockerfile: Dockerfile
    volumes:
      - /etc/owntracks-meshtastic/config.yaml:/code/config.yaml
  owntracks-recorder:
    image: owntracks/recorder
    volumes:
      - /etc/owntracks-meshtastic/store:/store
    ports:
      - 8083:8083
    environment:
      - OTR_HOST=YOURSEVERIP
From there, you should be able to pull up your owntracks instance at http://YOURSERVERADDRESS:8083. Once your Meshtastic node broadcasts a location, it should show up in the table of known nodes, and be visible on the map. Now as cool as this is, you may notice that it’s a bit bare-bones.

There’s one more piece to wire in, and that’s the Owntracks-frontend interface. This is the fancy single-page site that shows location history, heat maps, and more. And it’s pretty easy to add to our setup. Just add it to the bottom of your docker-compose.yml using sudo nano /etc/owntracks-meshtastic/docker-compose.yml, making the final file look like this:
services:
  mosquitto:
    image: eclipse-mosquitto
    volumes:
      - /etc/owntracks-meshtastic/mosquitto:/mosquitto/config
    ports:
      - 1883:1883
      - 9001:9001
  meshtastic-bridge:
    build:
      context: /etc/owntracks-meshtastic/meshtastic-bridge
      dockerfile: Dockerfile
    volumes:
      - /etc/owntracks-meshtastic/config.yaml:/code/config.yaml
  owntracks-recorder:
    image: owntracks/recorder
    volumes:
      - /etc/owntracks-meshtastic/store:/store
    ports:
      - 8083:8083
    environment:
      - OTR_HOST=YOURSEVERIP
  owntracks-frontend:
    image: owntracks/frontend
    ports:
      - 80:80
    environment:
      - SERVER_HOST=YOURSEVERIP
      - SERVER_PORT=8083
And that’s it! Run docker-compose up -d to start your miniature swarm of docker instances, and watch your Meshtastic devices populate the map with live data! No dependency on Internet, no sending your location data to Google, it’s just open source data collection goodness. And if you want some added goodies, there is an Owntracks mobile app that can connect directly to your own backend. That app pushes and pulls live location data, ideally over a VPN for security.
Now you may want to set this to run automatically, and there’s a systemd service for that. You’ll just need to save the following with sudo nano /etc/systemd/system/docker-compose-owntracks.service:
# /etc/systemd/system/docker-compose-owntracks.service
# https://stackoverflow.com/questions/43671482/how-to-run-docker-compose-up-d-at-system-start-up

[Unit]
Description=Docker Compose Owntracks Service
Requires=docker.service
After=docker.service
StartLimitIntervalSec=60

[Service]
WorkingDirectory=/etc/owntracks-meshtastic
ExecStart=/docker-compose up
ExecStop=docker-compose down
TimeoutStartSec=0
Restart=on-failure
StartLimitBurst=3

[Install]
WantedBy=multi-user.target
With that in place, you can use sudo systemctl enable docker-compose-owntracks --now to start and enable the whole service.
Now that’s a lot of work. So as promised, we have a quicker way to do it. The whole thing is available as a single repository. All that needs to be done after running the following command is to change the server IP, fill out the tid-table, and deploy the systemd service file.
sudo git clone https://github.com/jp-bennett/owntracks-meshtastic --recurse-submodules /etc/owntracks-meshtastic/
That’s Meshtastic, MQTT, and Owntracks all rolled up into your own location tracking service. Let us know if you follow the instructions and set this up for yourself. And look forward to the third part in this series, how to use Meshtastic to extend your projects with a wireless, encrypted serial connection.