
![keebin’-with-kristina:-the-one-with-the-24-hour-macro-pad-[hackaday]](https://i0.wp.com/upmytech.com/wp-content/uploads/2024/07/195218-keebin-with-kristina-the-one-with-the-24-hour-macro-pad-hackaday-scaled.jpg?resize=800%2C445&ssl=1)
Keebin’ with Kristina: the One with the 24-Hour Macro Pad [Hackaday]

They say Rome wasn’t built in a day, but this great little music-controlling macro pad by [nibbler] actually was. Why? Because as Hackaday’s own [Donald Papp] reminded us, we all need a win sometimes, especially as projects drag on and on without any end in sight.
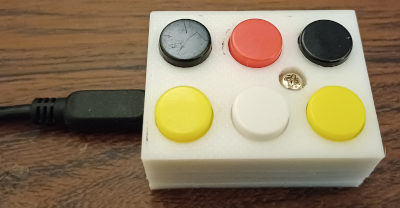
As [nibbler] points out, what really constitutes a win? Set the bar too low and it won’t feel like one at all. Too high, and you may become too discouraged to cross the finish line. With that in mind, [nibbler] set the bar differently, limiting themselves to what could be done in the one day per week they have to devote time to electronic matters.
One-day turnaround usually means using parts on hand and limiting oneself to already-learned skills and techniques. No problem for [nibbler], who, armed with an Arduino Leonardo Tiny and a some colorful push buttons, set about designing a suitable enclosure, and then putting it all together. Was this a win? [nibbler] says yes, and so do I.
Keycaps To Dye For
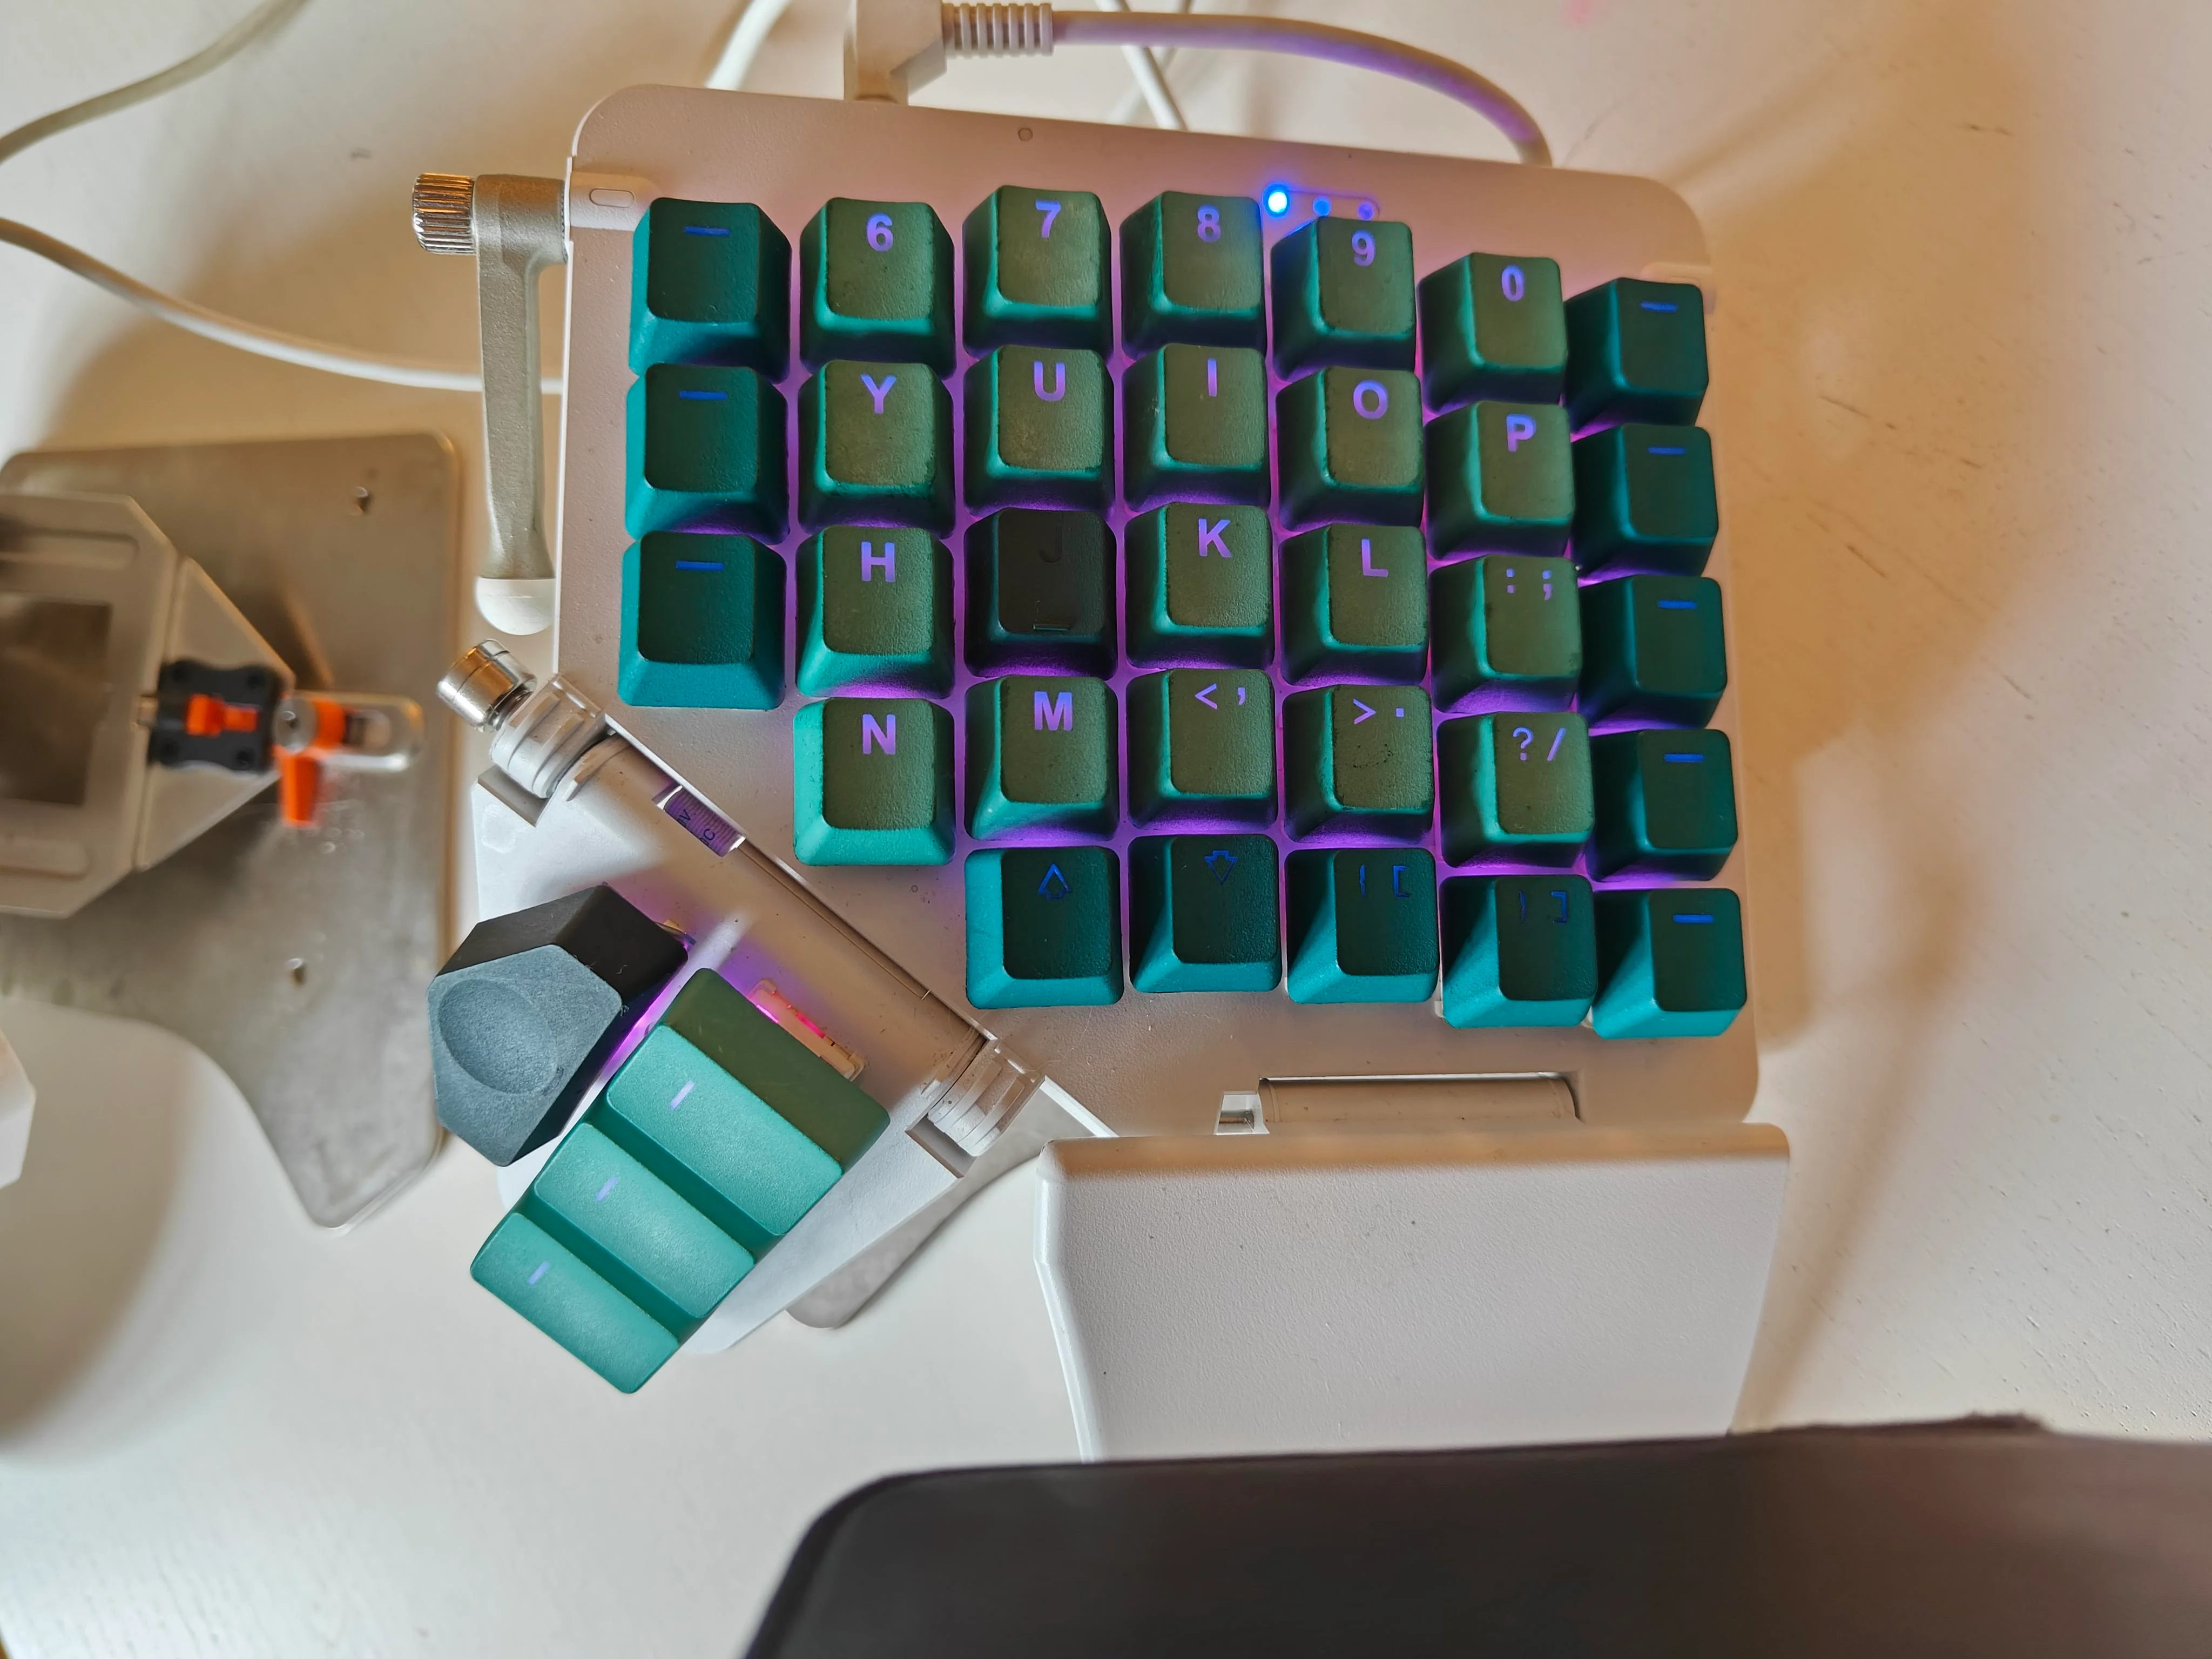
When I saw [Nosp1]’s reddit post about dyeing their Moonlander keycaps, I remembered I was going to do that myself one of these days. While I was planning to use good ol’ Rit dye, [Nosp1] pointed to a video they watched that uses something called iDye Poly. Irritating name aside, this stuff looks like it does a fine job of dyeing keycaps evenly and vibrantly.
It’s important that you realize there is both iDye and iDye Poly out there, and the latter is what you want. The difference is mainly in the extra lump of stuff which is dubbed the color intensifier. You will also want a PBT keycaps for sure, not ABS, and a big strainer if you want to dye them more like Easter eggs.
Once you’ve gathered a pot to dye them in and some water, just turn up the heat to a simmer and stir in the iDye gunk until it dissolves. Throw in the keycaps, wait 10-15 minutes, and then rinse them off and let them dry and Bob’s your proverbial uncle. The chap in the video below only did a handful of caps, which looks pretty snazzy.
The Centerfold: Six Sides of Miss Fifi
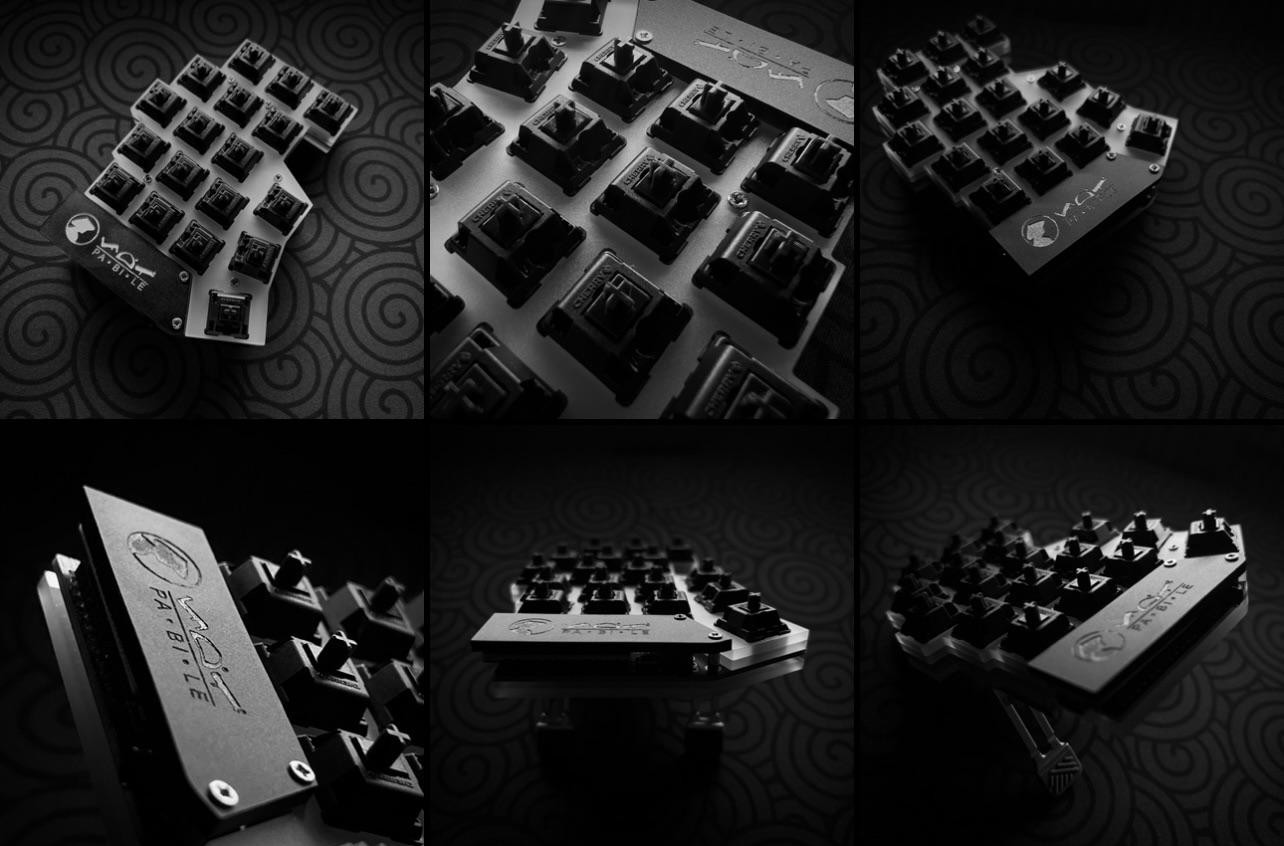
Despite all the angles presented here (and more here), we don’t know a lot about [pascuajur]’s keyboard, but that’s okay. We do know that it’s a Fifi, which is open source, or you can buy one already made. It’s nice to imagine that those switches are whatever color you want, isn’t it?
Do you rock a sweet set of peripherals on a screamin’ desk pad? Send me a picture along with your handle and all the gory details, and you could be featured here!
Historical Clackers: The Helios Typewriter
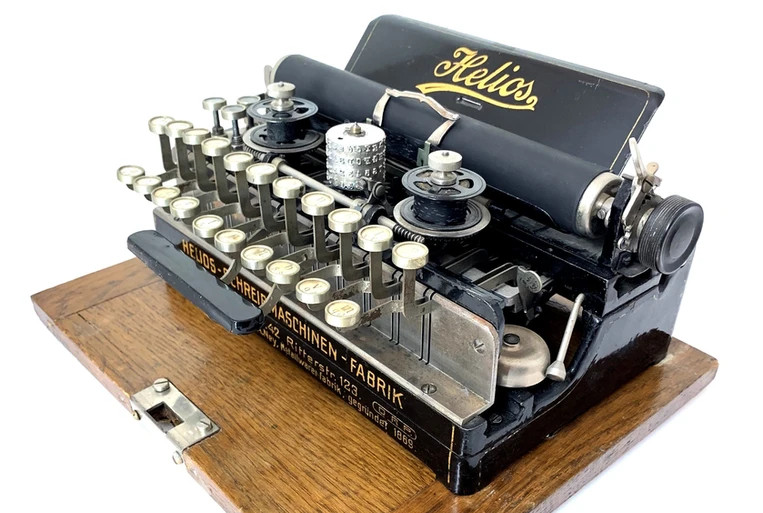
Some people like their keyboards small, like really small. So small that they end up with more layers than a fancy restaurant dessert. Apparently this has pretty much always been the case, as evidenced by the Helios typewriter introduced in 1908.
With just two rows of ten keys each, Justin Wilhelm Bamberger & Co.’s machine could output 80 characters total, thanks to a four-tier, cast-aluminium typewheel and three shift keys located to the left of the keyboard. You can get a closer look here, on a late model of the typewriter.
Operation looked like this: whenever a key was pressed, the typewheel would spin and move forward to strike the paper. Not a whole lot seems to be known about these little machines. By 1909, production had been taken over by the Kanzler typewriter factory in Berlin. Both companies eventually dissolved, and by 1915, the rights were acquired by A. Ney & Co. who renamed it the Helios-Klimax.
Via reddit
ICYMI: ErgO, Computer Interactions Can Be Comfortable
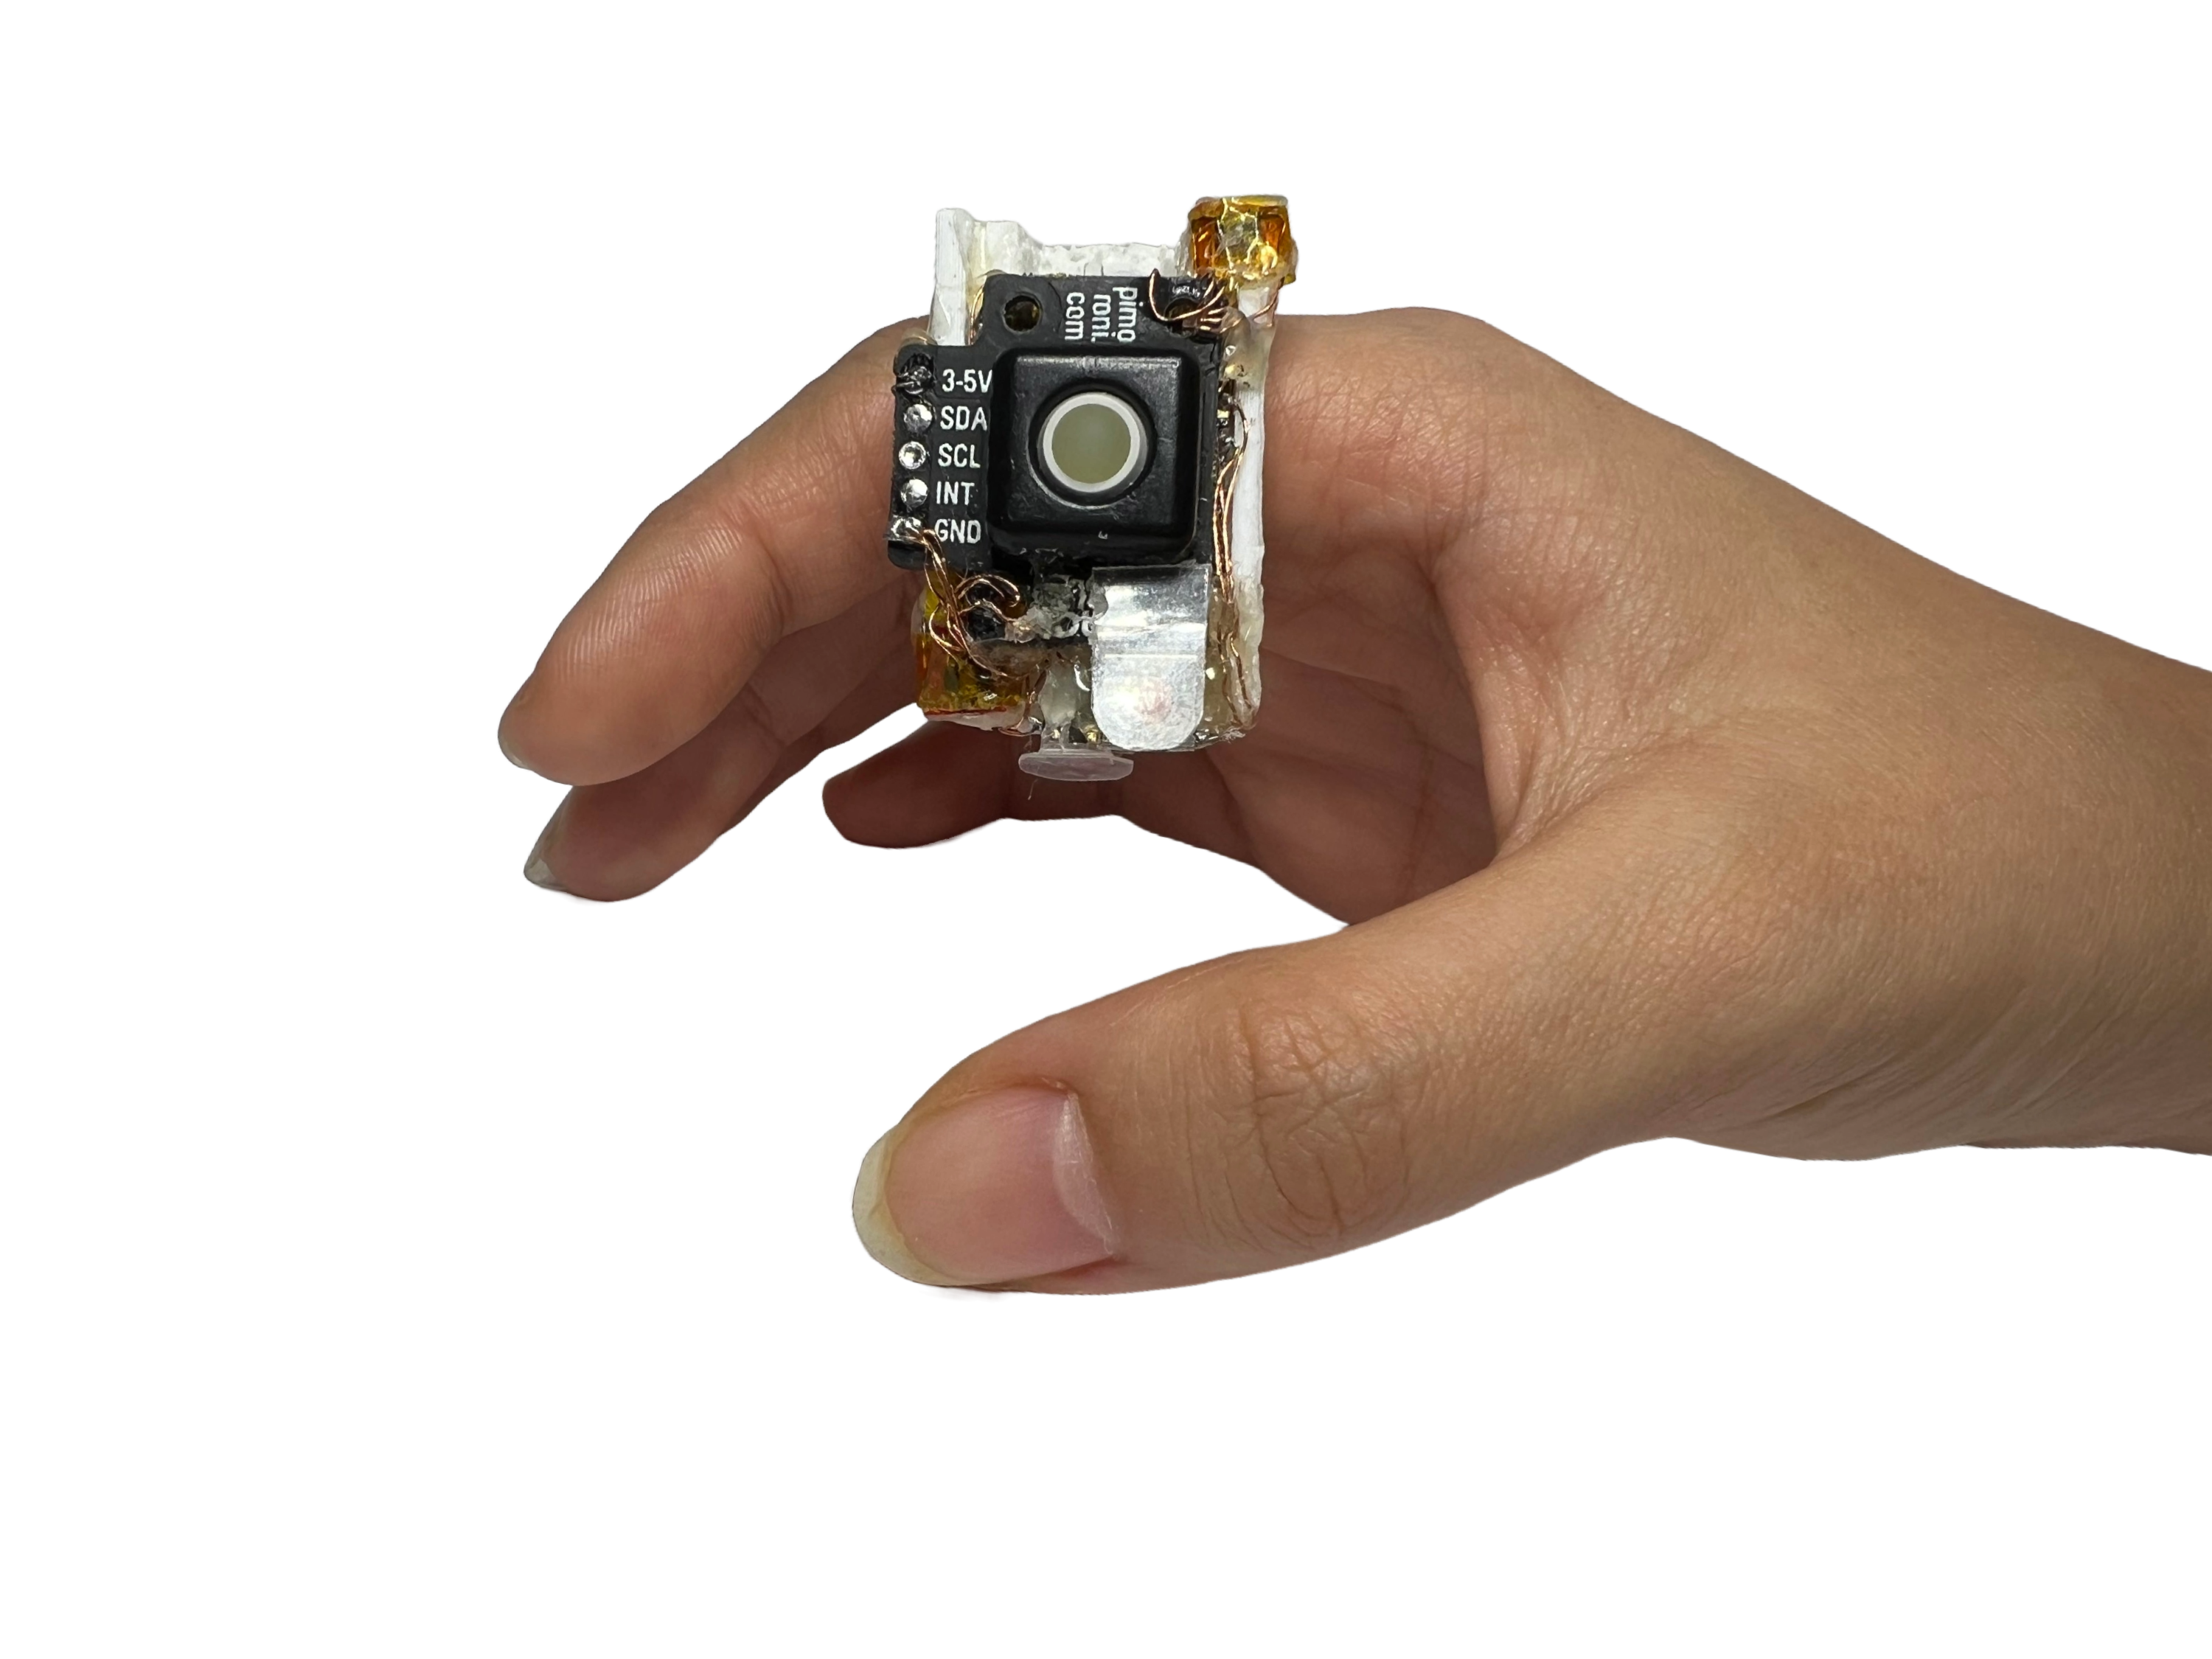
Okay, so this is not a keyboard. But it’s definitely an input of interest. ErgO is a smart ring that acts as an HID to extend your keyboard and mouse with something much, much cooler. No longer will you be tied to the home row. Imagine sitting or standing in any position you want, controlling your computer with ease.
ErgO is built out of breakout boards, so it’s simple to recreate. It has a lot of features that you don’t get with standard equipment, like ultra portability and device-switching capability.
At the heart of this ring is the Seeed Xiao nRF52840, which of course controls Bluetooth communication with your computer. Add to that a clickable Pimoroni trackball and some capacitive touch sensors, and you have a really capable smart ring that should be fairly easy to build or remix thanks to [Sophia]’s detailed instructions.
Got a hot tip that has like, anything to do with keyboards? Help me out by sending in a link or two. Don’t want all the Hackaday scribes to see it? Feel free to email me directly.