I2C For Hackers: The Basics [Hackaday]

You only really need two data wires to transfer a ton of data. Standards like UART, USB2, I2C, SPI, PS/2, CAN, RS232, SWD (an interface to program MCUs), RS485, DMX, and many others, all are a testament to that. In particular, I2C is such a powerful standard, it’s nigh omnipresent – if you were to somehow develop an allergy to I2C, you would die.
Chances are, whatever device you’re using right now, there’s multiple I2C buses actively involved in you reading this article. Your phone’s touchscreen is likely to use I2C, so is your laptop touchpad, most display standards use I2C, and power management chips are connected over I2C more often than not, so you’re covered even if you’re reading this on a Raspberry Pi! Basically everything “smart” has an I2C port, and if it doesn’t, you can likely imitate it with just two GPIOs.
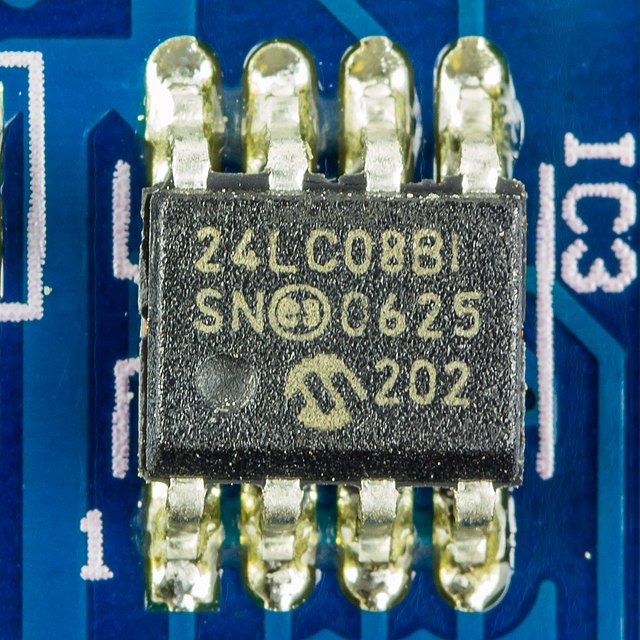
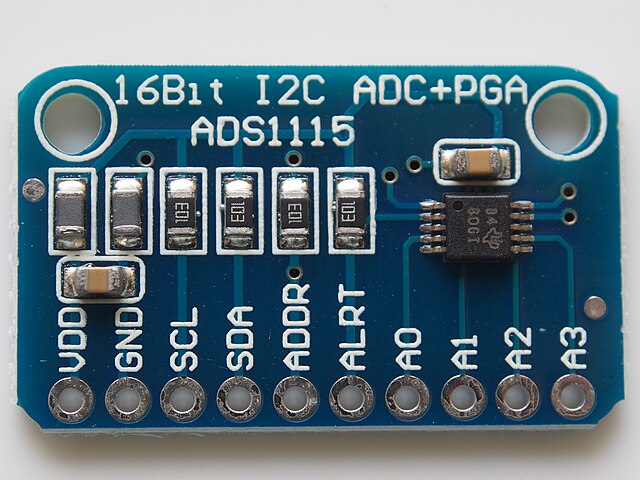
If you’re building a cool board with a MCU, you should likely plan for having an I2C interface exposed. With it, you can add an LCD screen with a respectable resolution or a LED matrix, or a GPS module, a full-sized keyboard or a touchpad, a gesture sensor, or a 9 degree of freedom IMU – Inertial Measurement Unit, like a accelerometer+compass+gyroscope combination. A small I2C chip can help you get more GPIOs for your MCU or CPU, or a multi-channel motor driver, or a thermal camera, or a heap of flash memory; if you’re adding some sort of cool chip onto your board, it likely has an I2C interface to let you fine-tune its fancy bits.
As usual, you might have heard of I2C, and we sure keep talking about it on Hackaday! There’s a good few long-form articles about it too, both general summaries and cool tech highlights; this article is here to fill into some gaps and make implicit knowledge explicit, making sure you’re not missing out on everything that I2C offers and requires you to know!
Basics And Addressing

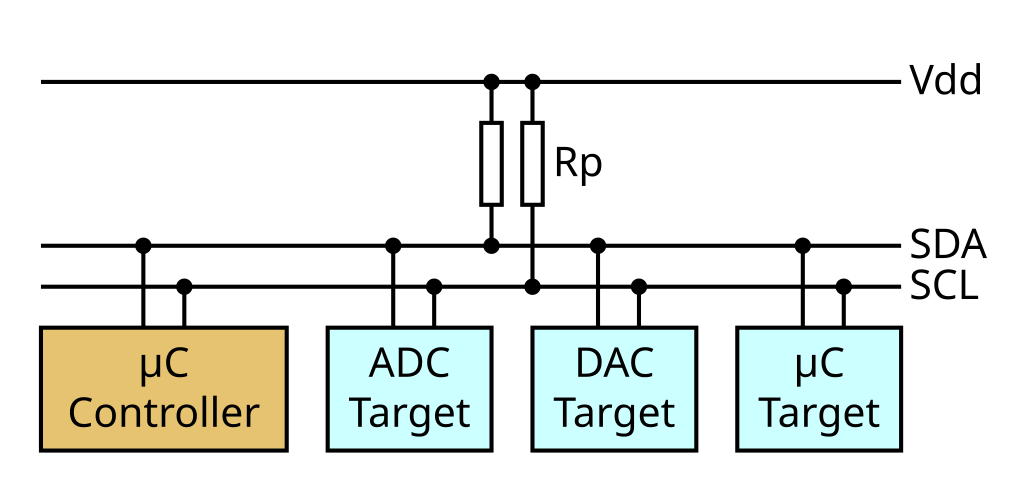
I2C is a two-wire interface, and you can put multiple devices on these two wires – thanks to an addressing system and strictly defined hierarchy. One party on the bus is the one always initiating all conversations (old: master, new: controller), and this role is basically always static; usually, it’s your MCU. Your devices can’t send data to your MCU on your own – your MCU has to read data from your devices. As such, you usually can’t make bidirectional effortless communications UART style, unless you dig deep enough to make “multi-master” communications work – which is a cool feature but is often poorly supported.
Instead, if your device is the kind you expect to return important data at random points, there’s often an INT pin – the INT pin is not included in the standard and usually is not required to use any I2C device, but if your IC or breakout exposes the INT pin, you should consider using it, since it will save you a fair bit of CPU time spent polling your device for data.
I2C is wonderful in that you can put a large number of devices on your bus – as long as your communications can physically stay stable. How does it work? Addresses. Devices are pre-programmed with an address you can use to talk to them, and you can query a bus to get a list of addresses that the connected devices respond on. Some devices can only have a single address so you can only add one of them to a – unless you hack it in one of the ways I’ll describe below. Many devices that – for instance, SSD1306 displays have a single pin you can tie high or low, so you can put two of these devices on the same bus, and GPIO expanders tend to have three pins that result in eight possible addresses. Rarely, there are devices that let you reprogram their address with a command, too.
An I2C device’s address is specified in the datasheet. Beware – addresses are 7-bit, and during transfer, the address is shifted and the least significant bit signifies whether a write or read operation is happening; some datasheets will show the address in its proper 7-bit form and some show it already shifted. The way you can notice the latter if you see separate read and write addresses specified – that’s a non-shifted address. A surefire way is to connect your device to any I2C controller and scan for devices, of course. I2C addresses aren’t unique like MAC addresses, so, there’s way more kinds of I2C devices than there are addresses. Here’s a database you can check for fun, but it’s definitely incomplete. 10-bit addresses exist and they do widen the address space comfortably, but they’re still not that popular. Remember – an I2C bus can be scanned, and it’s a pretty wonderful feature – it gives you a sanity check showing that a device is connected, a check that you don’t really get with interfaces like SPI and UART!

How do you avoid address conflicts, in case you’re planning to use multiple devices? Plan ahead, use address changing pins where possible, and use tricks. There are chips that help you put more devices on an I2C bus, for instance, acting like a “gateway” – it’s a saturated market, with Linear Technology taking up a lot of its space with their famously pricy but seriously worthwhile ICs, and they even have Linux drivers! There’s also a large number of tricks – some hackers suggest using SCL lines as chip selects, some suggest swapping SCL and SDA, and some talk about powering devices down selectively; if you’re experiencing address conflicts, you won’t be able to solve this purely in software, but it’s certain you won’t run out of hardware options.
Clocks And Pullups
There’s three standard I2C clock speeds – 100kHz, 400kHz and 1MHz, some hosts and devices can go even higher but it’s not especially prominent. Technically, you can go higher or lower, software I2C implementations often do, but some devices might not like it. Hosts often run at 100kHz, but it’s common that you can up the frequency and switch it into 400kHz; however, there’s hosts that are hardwired to 100kHz operation, like VGA/DVI/HDMI port and desktop/laptop-internal I2C controllers.
This affects, and sometimes, if you have choice between I2C and some other interface, speed might be a deciding factor. For example, take SSD1306 or SH1106 OLED screens – they can be connected through either I2C or SPI, so if you’re using a breakout, it just depends on the way it’s wired. You won’t be able to send data to an I2C screen as quickly over SPI, because of the inherent data cap – they supports SPI links at multiple MHz clock rate, whereas an I2C link will be limited to 400KHz. Want faster screen refresh? You’ll want to wire the screen into SPI mode. Fine with possibly lower FPS? I2C is a valid choice, then.
You need pullups – and you cannot use GPIO-internal pullups like you can do with buttons, they are too high of a value as a rule. A typical range for a pullup is from 1K to 10K – going too high will distort the signal on the bus, and going too low will make the bus impossible to drive. Raspberry Pi boards use 1.8K pullups on the dedicated I2C bus, 4.7K is another popular value, and I’ve had 10K pullups result in unstable communications at higher speeds, so I typically go lower a fair bit, using 1.8K, 4.7K or 5.1K pullups. Mind you, if both your device, so if an I2C sensor breakout is failing to respond when connected to a Raspberry Pi but it really should work, check whether you maybe should desolder or disconnect the pullups on the sensor board itself.
I2C is pretty cool indeed – all those devices I mentioned in the intro, they’re a breakout board and a cable away, often, you don’t even have to solder. Looking to use I2C on your board as an expansion interface, but don’t know what kind of connector to use? It’s pretty simple, I’ve talked about it in my article on I2C ecosystems. One five-pin header and one four-pin JST-SH is all you need, and you can even get vertical JST-SH connectors if space is a concern!
Next time, let’s talk more about I2C devices, the kinds of I2C interfaces you will encounter and all the places they are usually hidden in, types of I2C transfers you can do, and notable implementation nuances, – leaving no stone unturned as usual.

![i2c-for-hackers:-the-basics-[hackaday]](https://i0.wp.com/upmytech.com/wp-content/uploads/2024/08/202425-i2c-for-hackers-the-basics-hackaday.png?resize=800%2C227&ssl=1)
