
![hands-on:-ad409-max-microscope-[hackaday]](https://i0.wp.com/upmytech.com/wp-content/uploads/2024/05/185194-hands-on-ad409-max-microscope-hackaday.jpg?resize=800%2C445&ssl=1)
Hands On: AD409-Max Microscope [Hackaday]
It used to be that only the most well-equipped home electronics lab had a microscope. However, with SMD parts getting smaller and smaller, some kind of microscope is almost a necessity.
Many of them have small and wobbly stands that aren’t very practical. Some don’t leave you much room to get a soldering iron in between the lens and the part. Worse still, many cheap microscopes have trouble staying still when you have to push buttons or otherwise make adjustments to the device.
It seems like every time a new generation of microscopes aimed at the electronics market arrives on the scene, many of the earlier flaws get taken care of. That’s certainly the case with the Andonstar AD409-Max.
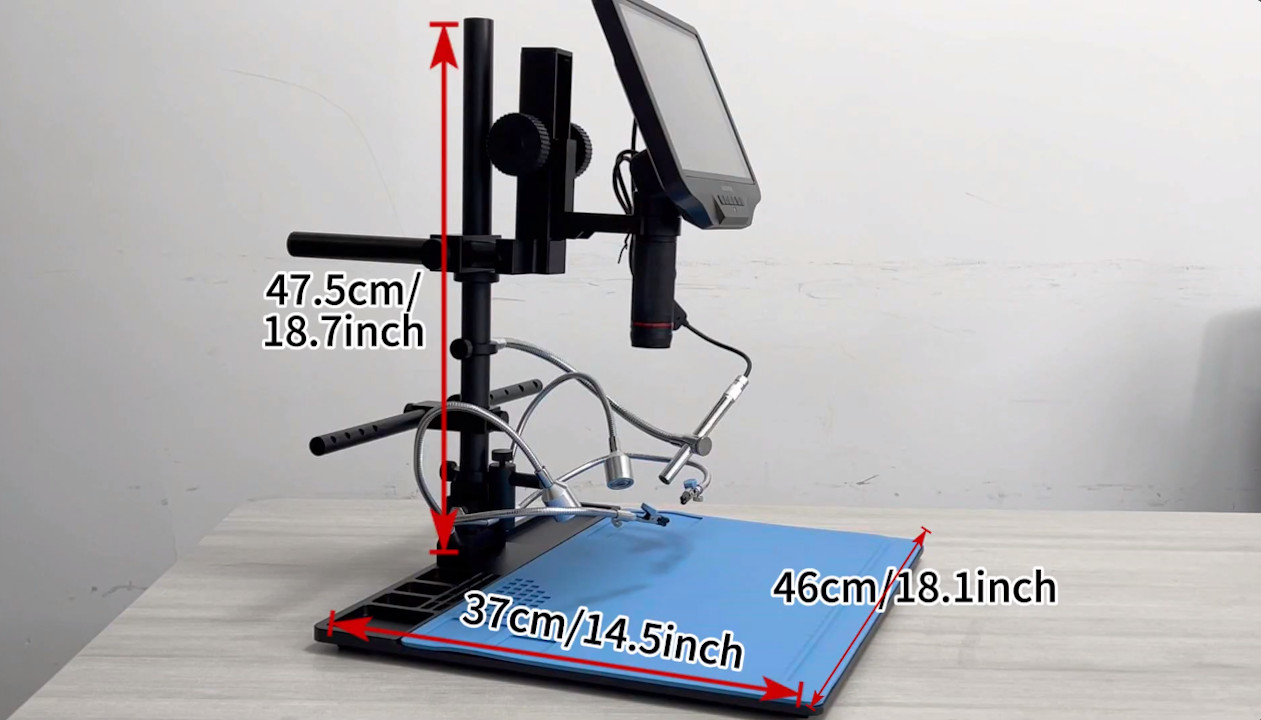
Sum of its Parts
While the microscope looks a lot like many other Andonstar microscopes and, indeed, a lot of similar devices, you’ll immediately notice the work area under the microscope is huge and covered with a silicone work mat. We’ve put together a short video about the microscope that you can find bellow, followed by the promotional video from Andonstar themselves. That video will happily point out the positive things. Of course, there are a few negatives.
As mentioned in our video, the microscope is built solid and works very well. However, you can’t help but feel it is a hodgepodge of separate parts. The lights, for example, have their own switch. So does the endoscope. The camera itself has a WiFi hotspot (it won’t connect to your network, however). But when you load the phone app to download pictures and videos, you realize that the microscope thinks it’s a dashcam. The endoscope, with its little focus knob at the back, also seems like something of an afterthought.
These disparate parts lead to having a lot of wires. Of course you can easily 3D print some wire management clips or even use some zip ties to do it yourself. But the whole package would be a bit more impressive if the integration was better.
There are two mount points on the lens, one near each end of the lens body. We know some people like to mount at the bottom to get extra working distance, but you don’t really need to do that here. That mount is actually made for a ring light if you want to add one. The microscope might not be as stable as it will be when you use the mount closer to the electronics. However, do use one of the mounts. If you screw the ring in the middle of the lens body, you won’t be able to turn the lens to focus.
The Good News
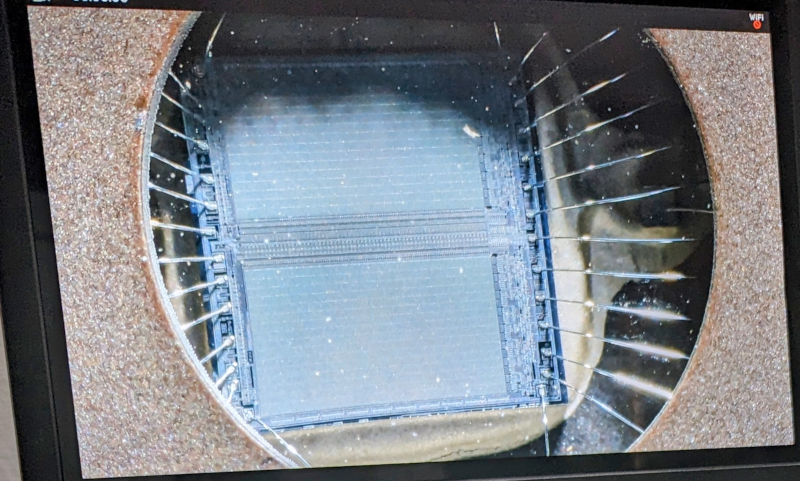
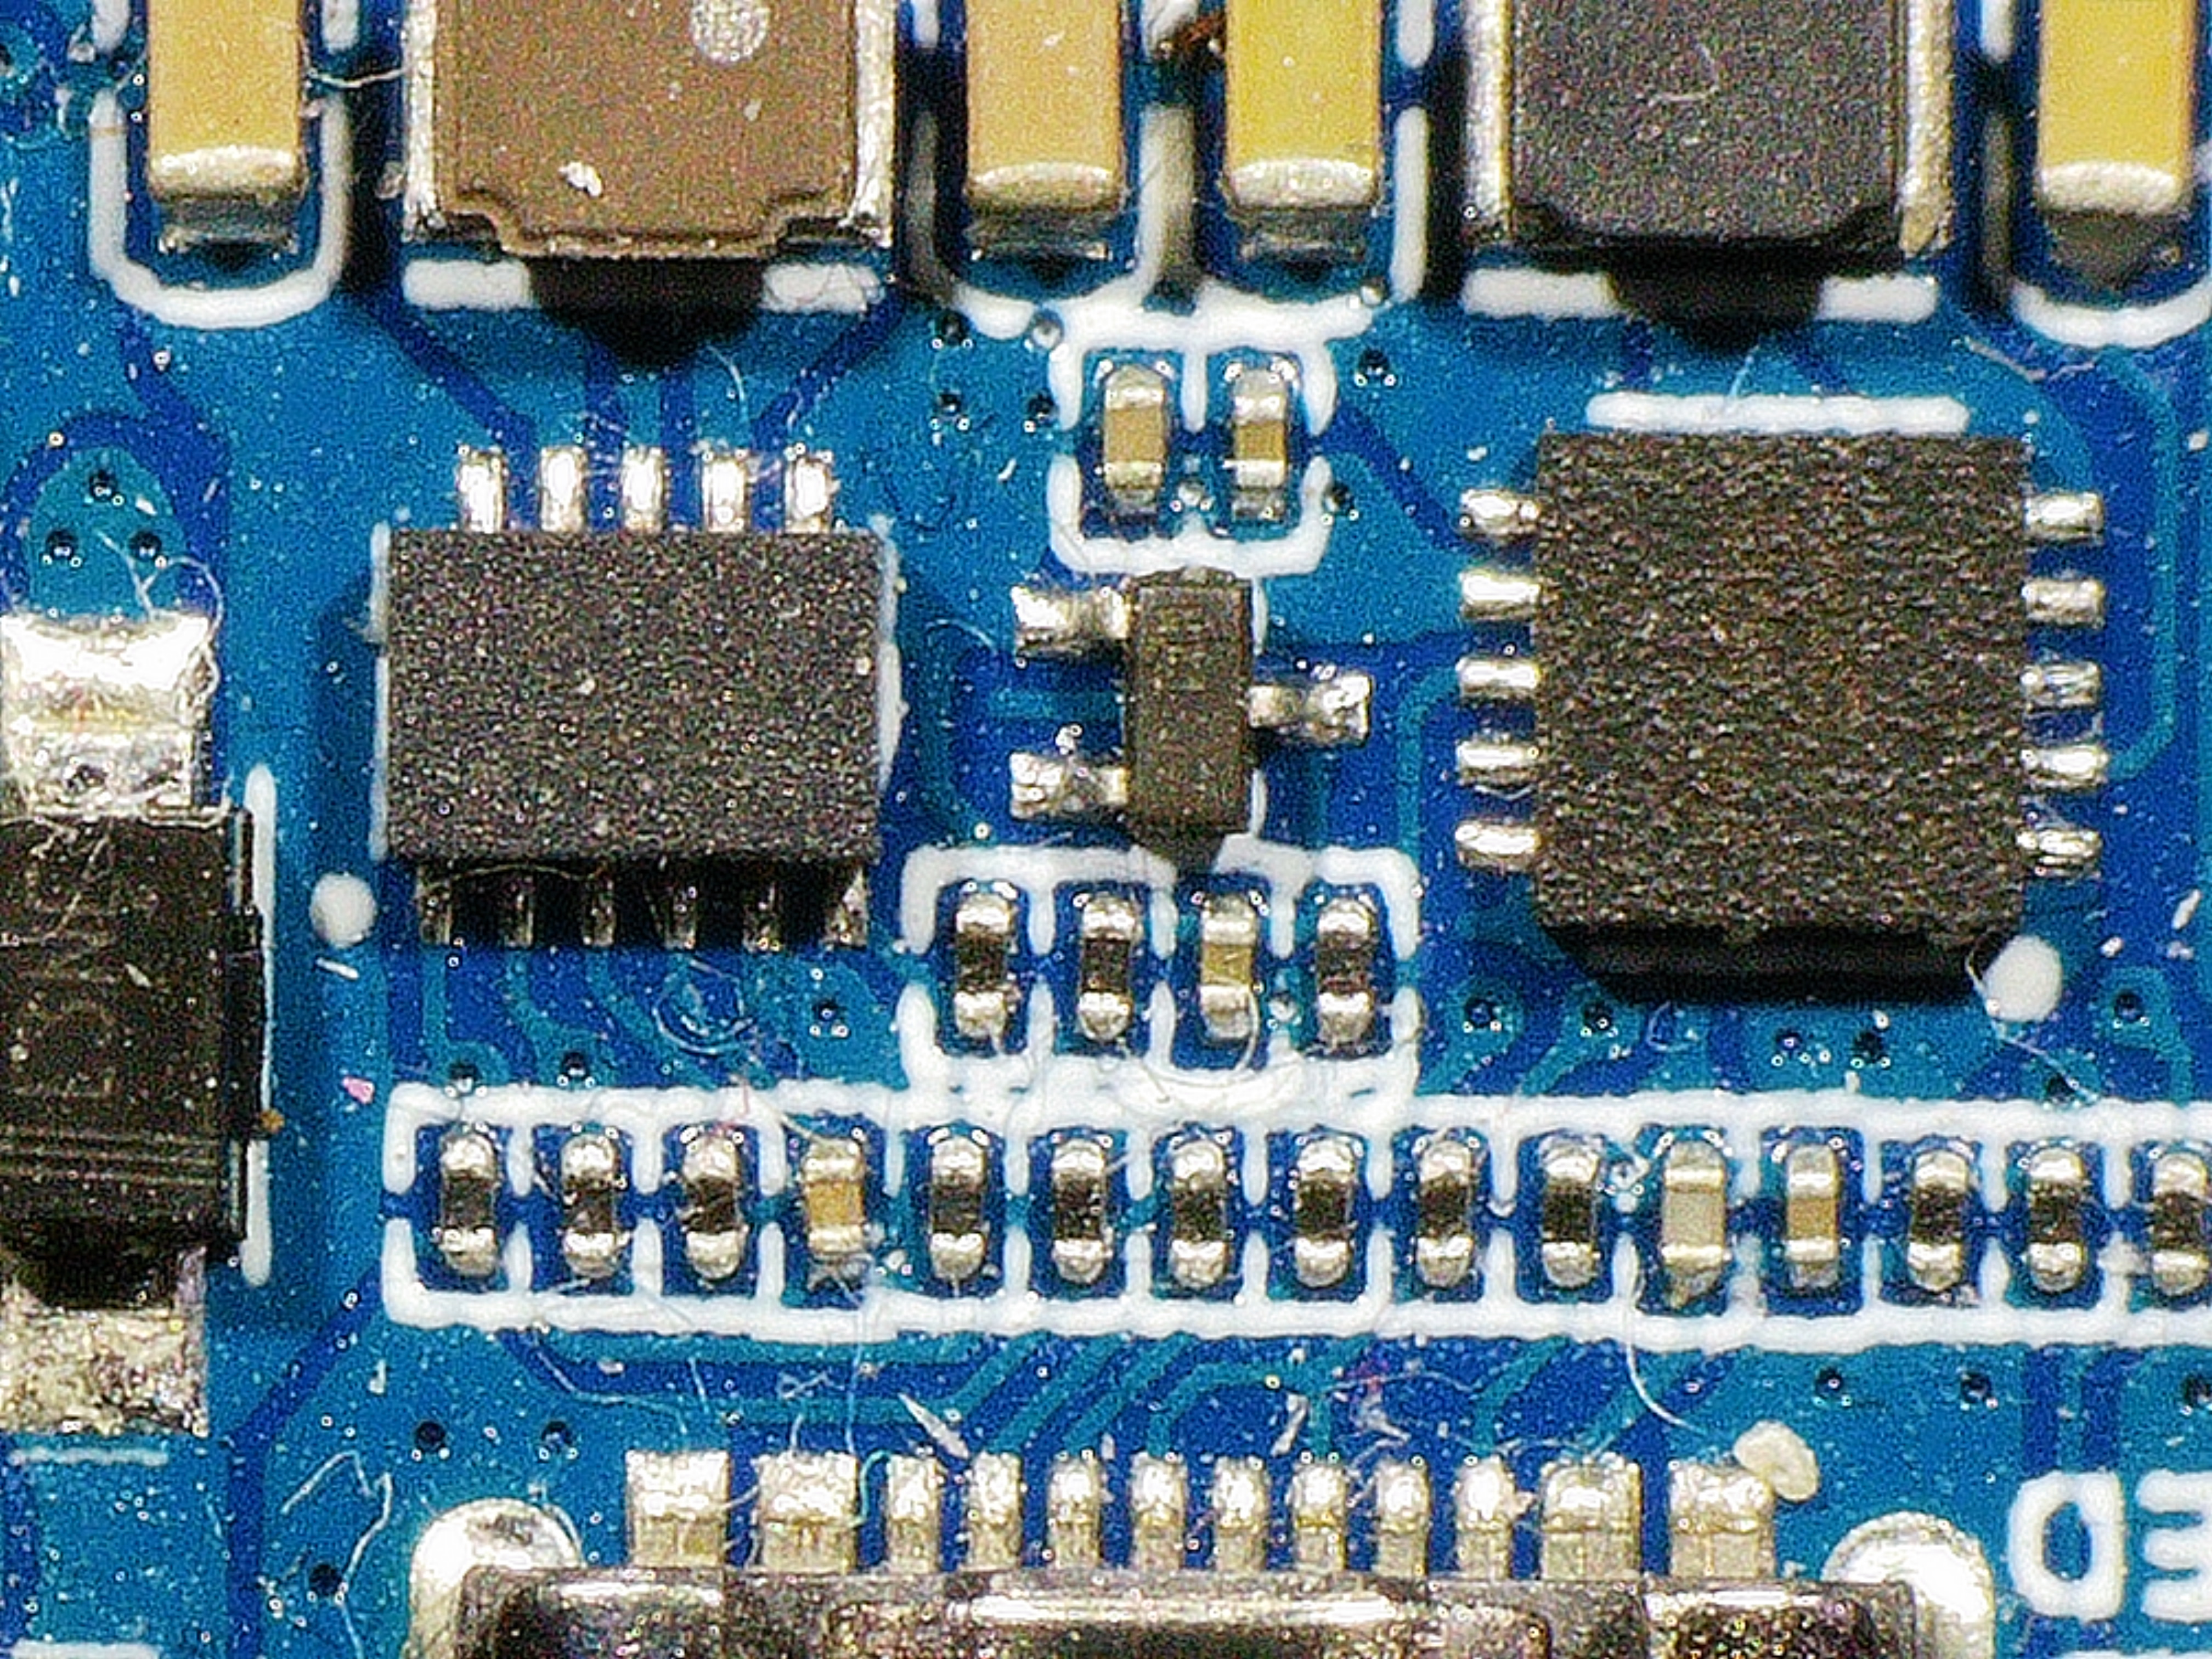
This isn’t the end of the world, though. The images look great, and there is a ton of room between the lens and the work surface. The video mentions “nearly two feet” of room. In retrospect, it is closer to 18 inches, depending on how much magnification you want.
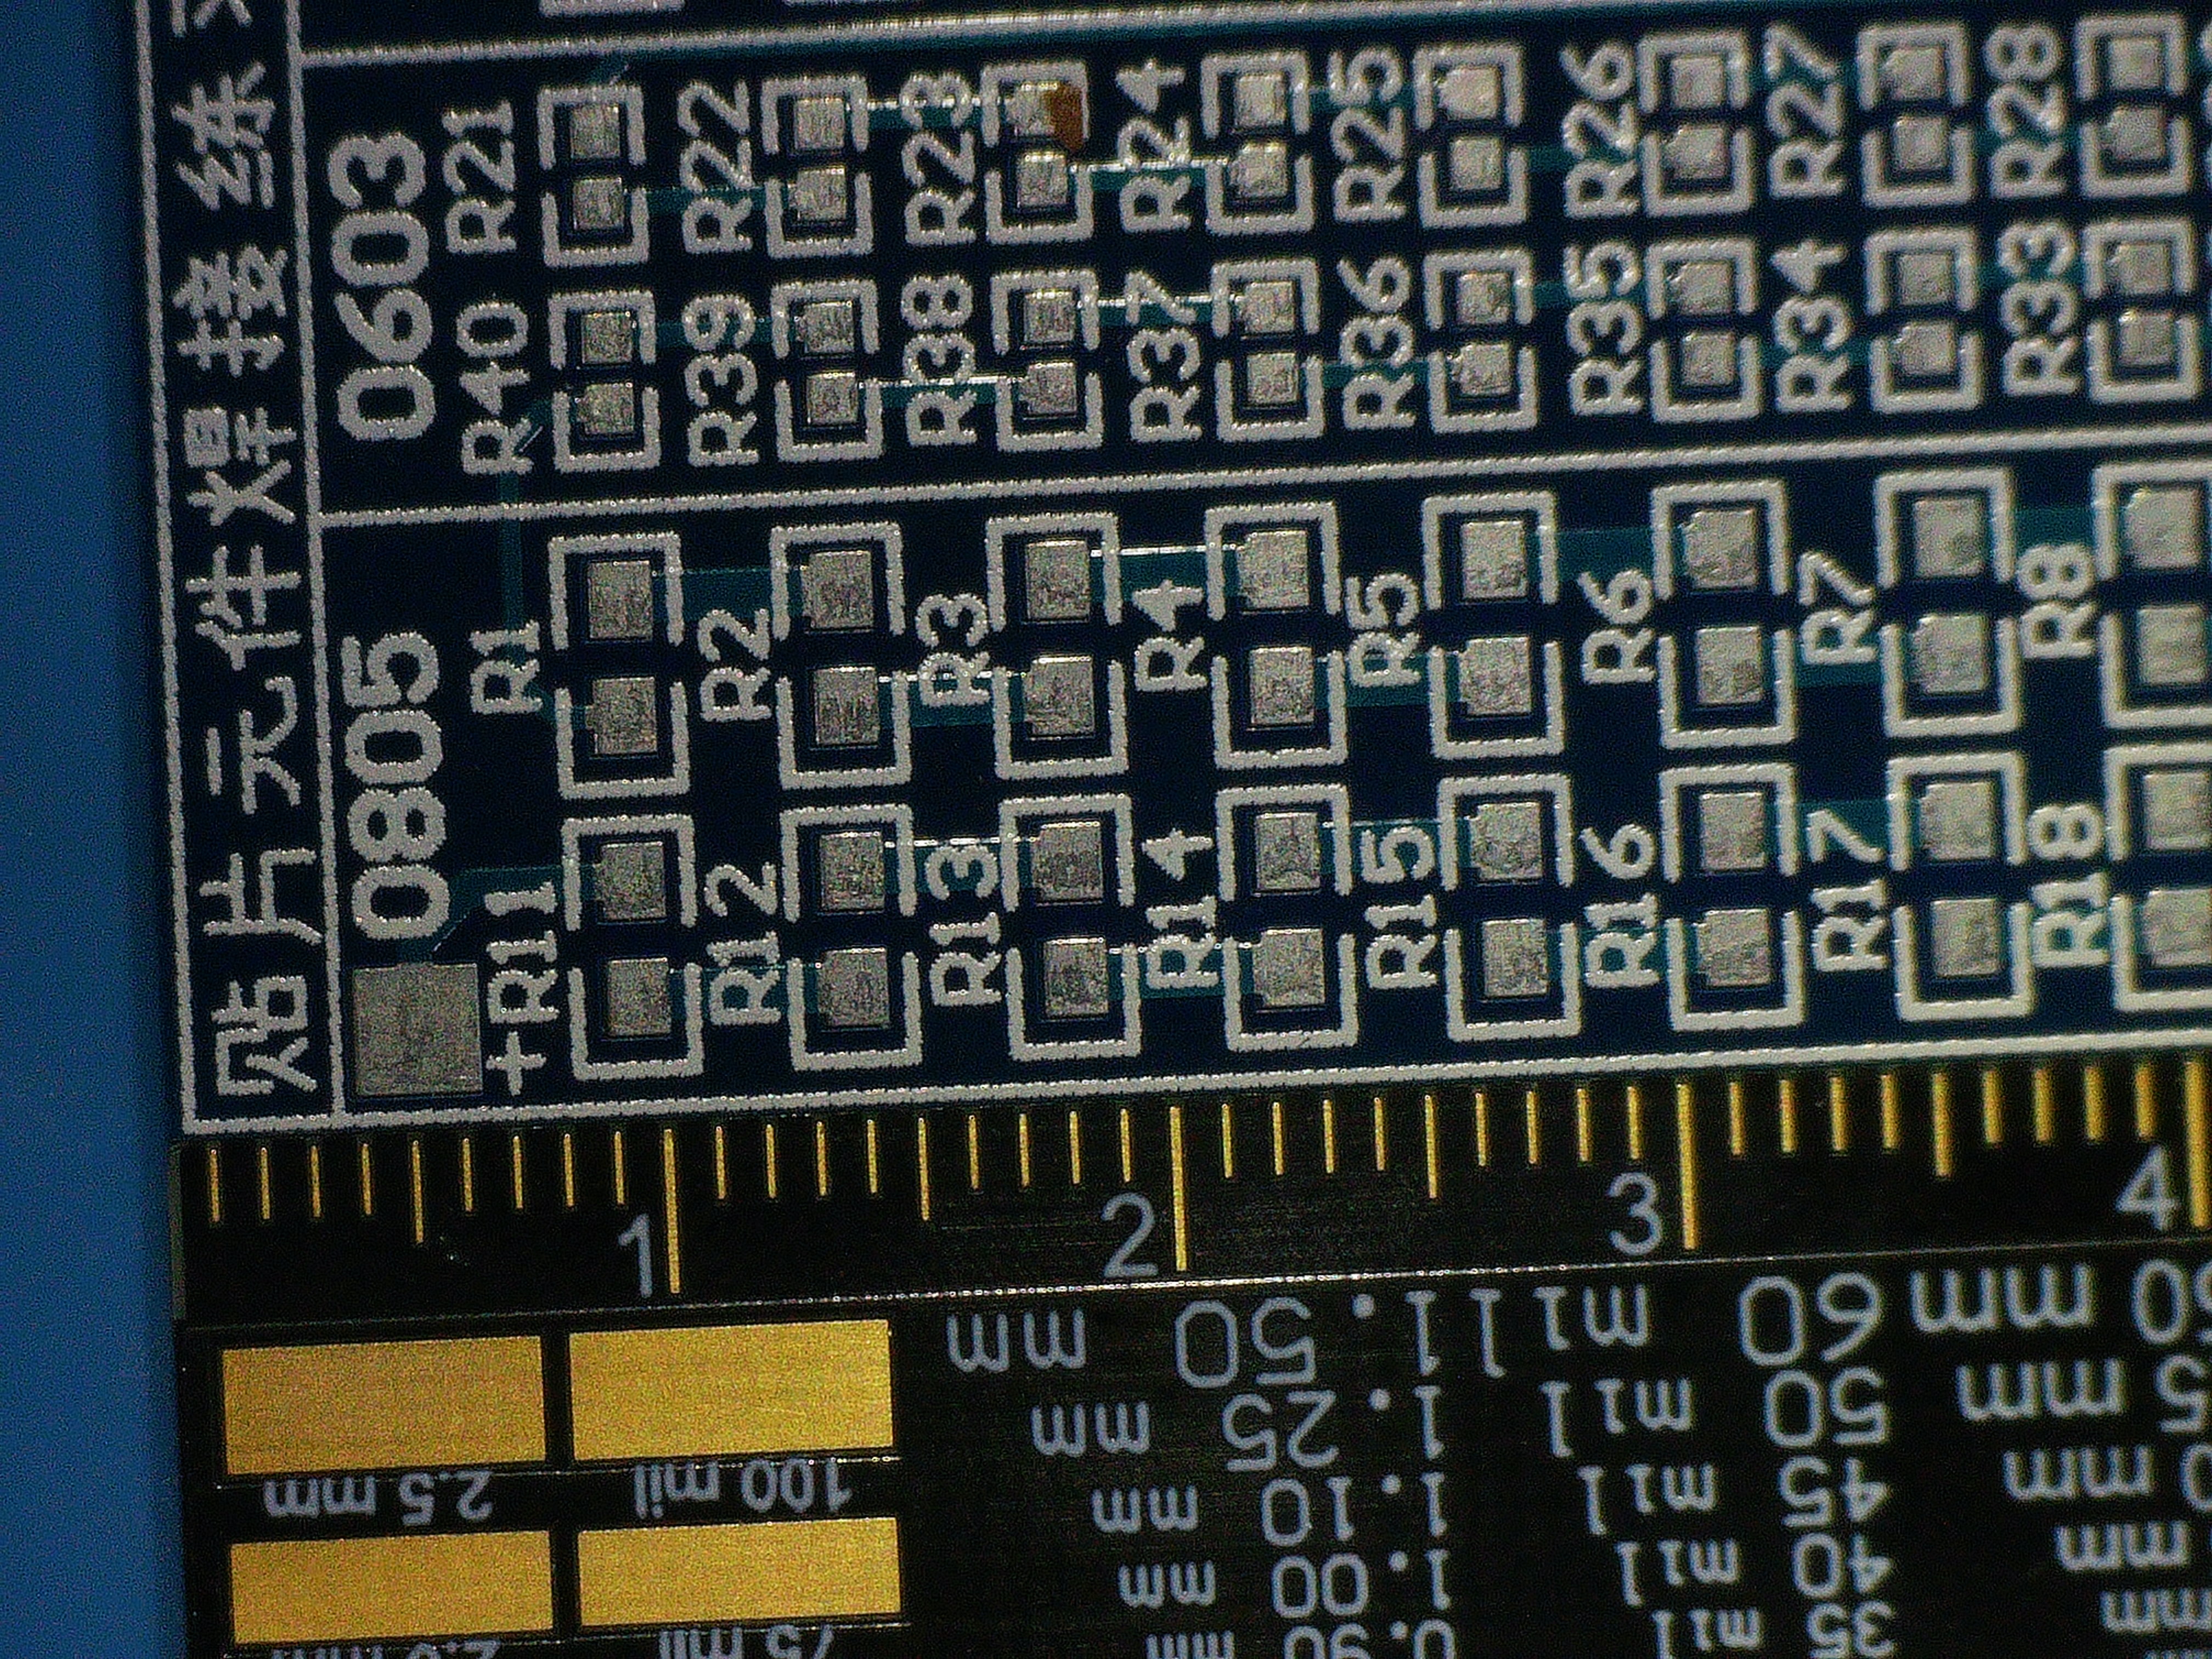
Still, that’s plenty of space to work on things. What’s more is that, unlike some microscopes, there is a filter protecting the lens from solder fumes and heat. That and the silicone mat make it clear the microscope was made for soldering.
The lights are very bright. In fact, if you get what you want out of the light, it becomes very difficult to see. Unlike a ring light, you can adjust the gooseneck lamps to get just the right angle on whatever you need to see.
The microscope is well-packed and has a reasonable manual that seems mostly correct. There are several attachments for the endoscope, ranging from a short plastic tube to a little mirror for looking under things. If the screen is too small, you can always connect an HDMI monitor. All the required cables come in the box along with a USB power adapter.
Putting it to Work
There are less expensive alternatives out there. You could, of course, add a larger base to a cheaper unit. You may not really need the endoscope, the helping hands, and the tool holder. But if you don’t mind the roughly $450 price tag, this is a very serviceable soldering and inspection microscope.
Most of the issues are minor, like the cable management. For another example, despite the manual saying you can save default settings, it doesn’t seem to work. It would be nice if you could hot-swap the memory card, but you can’t. WiFi is a nice thought, but having to disconnect from your normal WiFi to connect to the microscope isn’t that convenient.
But for the main features, it works well. Sure, some people really like a binocular microscope. They, like anything else, have plusses and minuses, too. Do you have a favorite microscope or other magnifying device for soldering? Or are you lucky enough to have eagle-eye vision? If you do, just wait… you’ll see. Parts are getting smaller every year and your eyes seem to get worse every year, too.
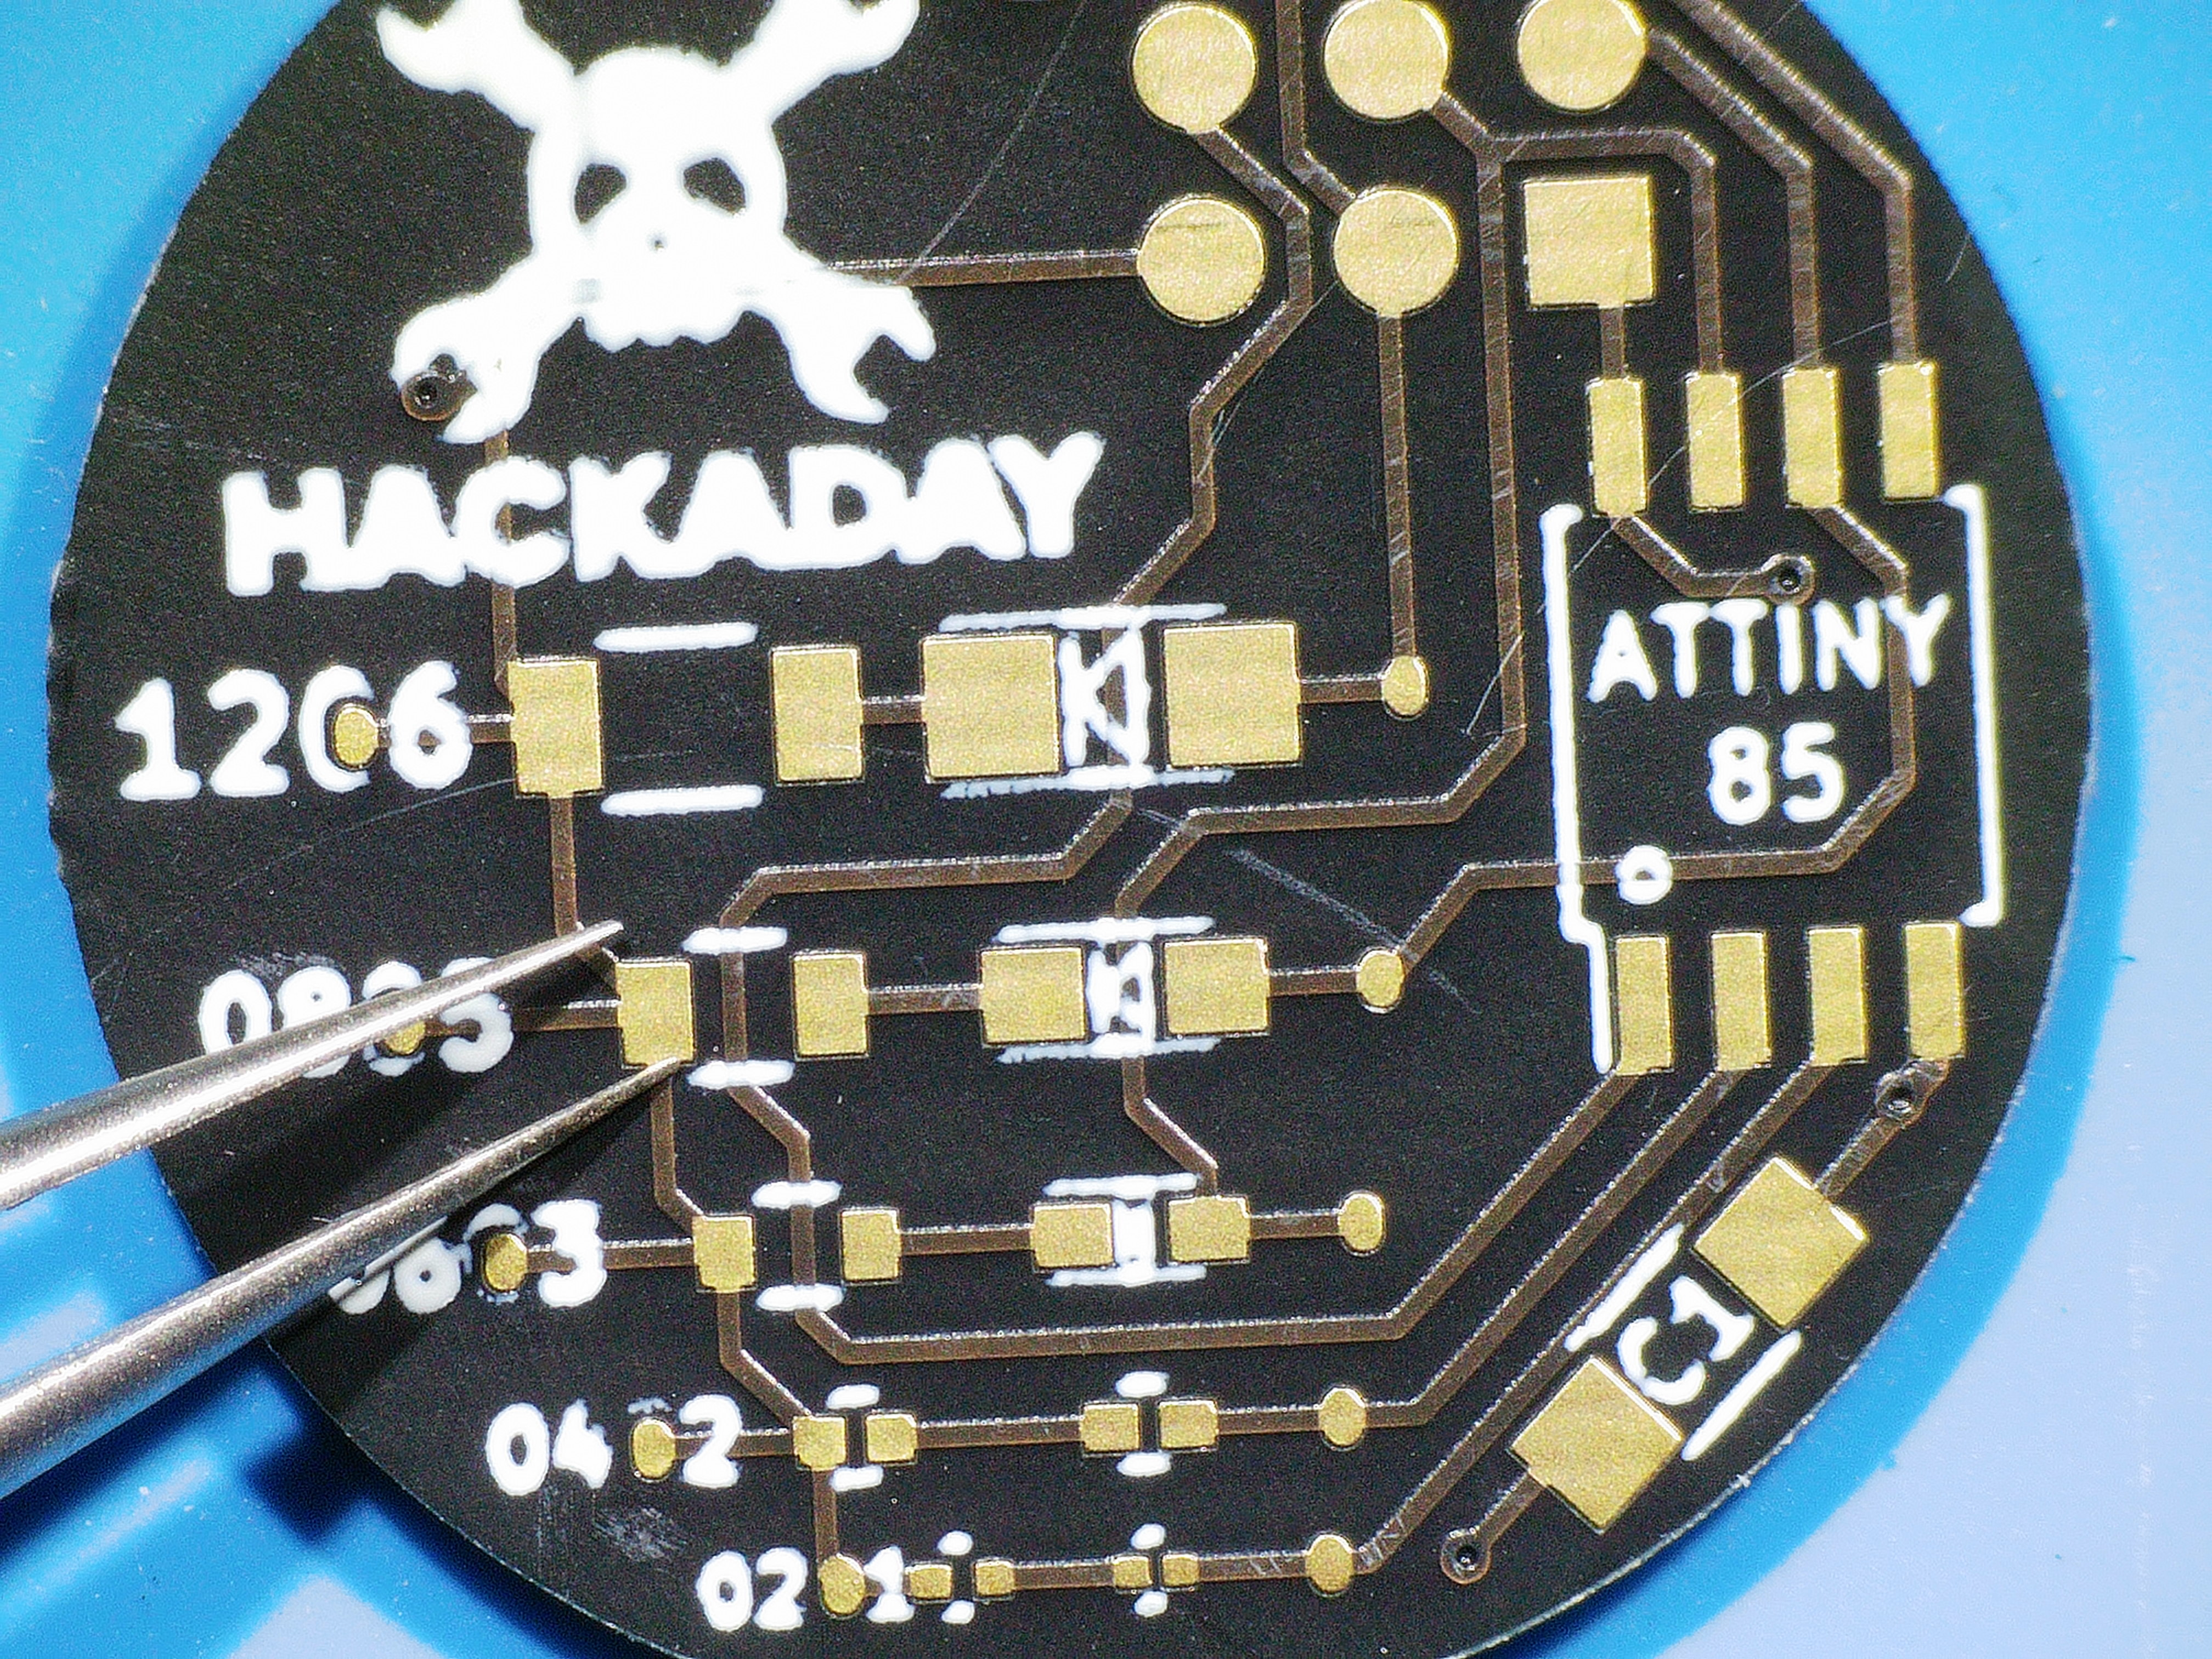
The video below shows a little bit of soldering of the SMD challenge board that we use every year at Supercon. Having a microscope is, of course, cheating, but at least we didn’t use a nice soldering iron just to be a little fair to everyone who’s had to use our terrible setup in the past.
You could mount a commercial ring light on the lower lens mount, or why not roll your own? You might not need as many upgrades for this rig as you would for a cheaper microscope.