
Ask Hackaday: Resin Printer Build Plates [Hackaday]

The early days of FDM 3D printing were wild and wooly. Getting plastic to stick to your build plate was a challenge. Blue tape and hairspray-coated glass were kings for a long time. Over time, better coatings have appeared and many people use spring steel covered in some kind of PEI. There seem to be fewer choices when it comes to resin printers, though. We recently had a chance to try three different build surfaces on two different printers: a Nova3D Bene4 and an Anycubic Photon M3. We learned a lot.
Resin Printing Review
If you haven’t figuratively dipped your toe into resin yet — which would literally be quite messy — the printers are simple enough. There is a tank or vat of liquid resin with a clear film on the bottom. The vat rests on an LCD screen and there is a UV source beneath that.
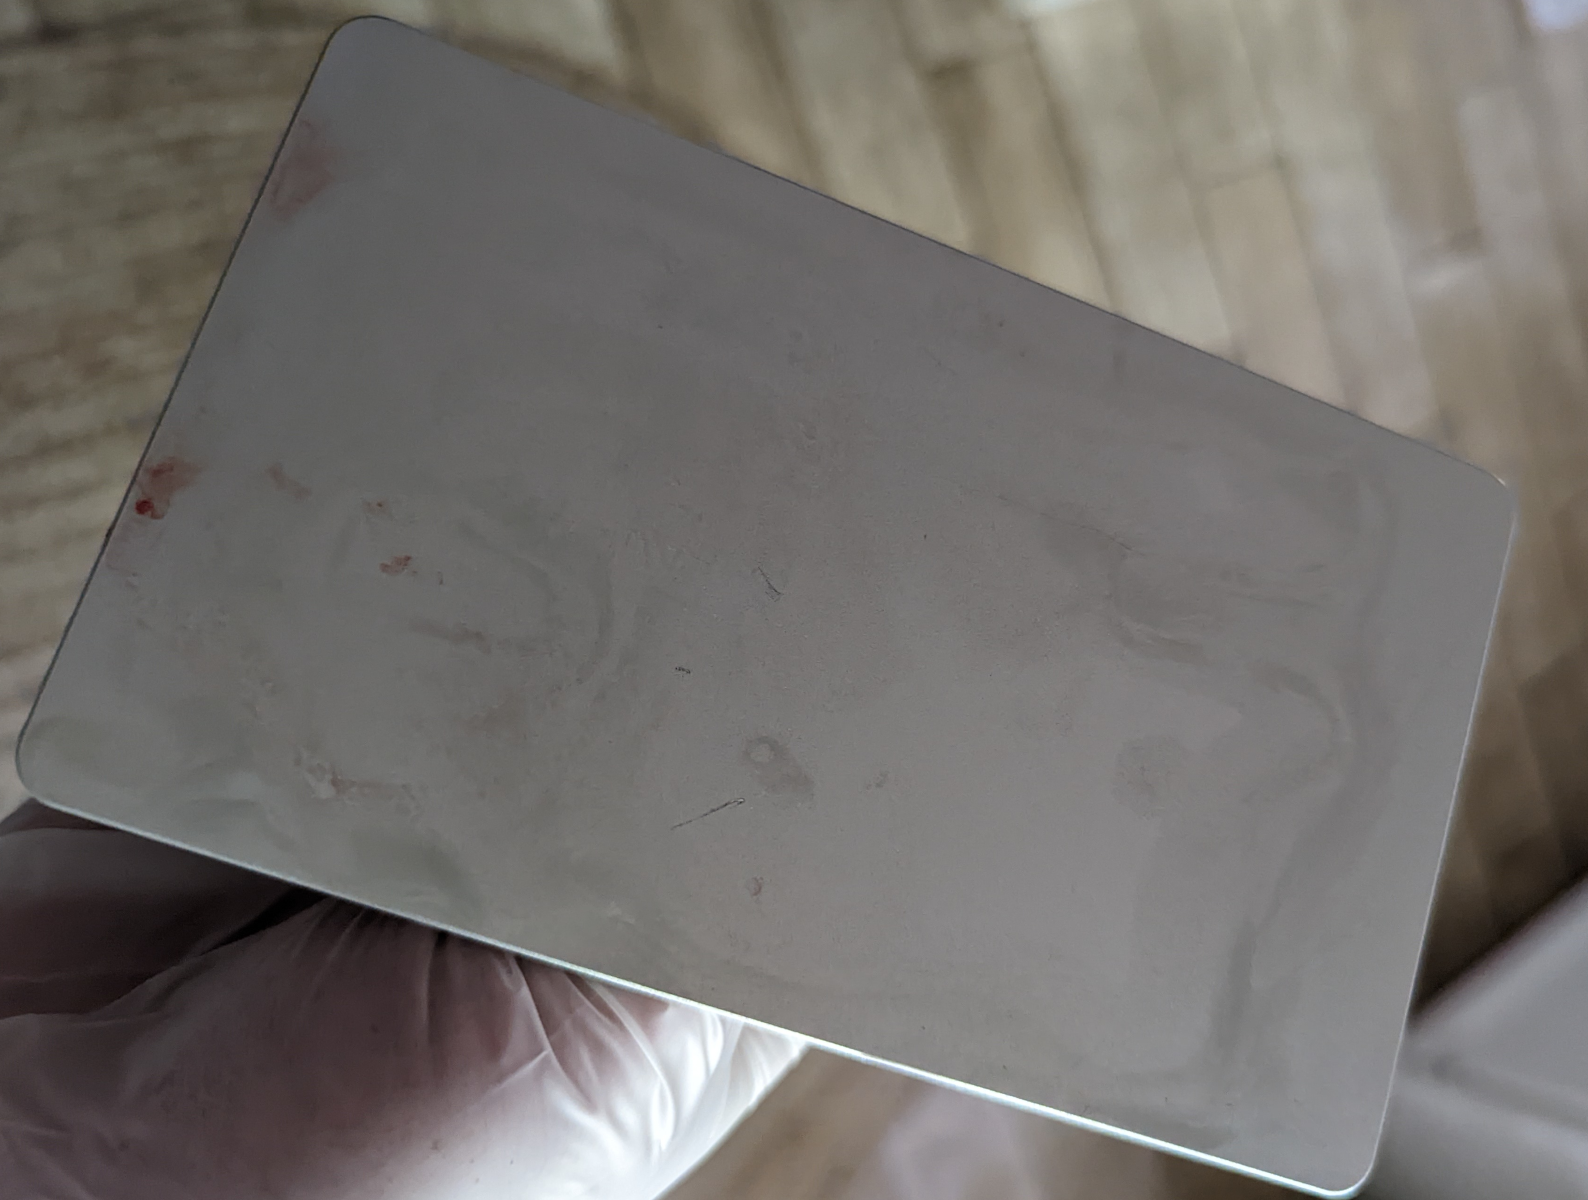 A typical build plate from the Nova3D (photo courtesy of [Patrick Williams])
A build plate enters the vat from above and sits just above the film. The LCD allows some of the UV through, which cures the resin in the vat. With luck, the plastic will stick to both the film and the build plate. Once the exposure is done, the printer will slightly raise the build plate, and — again, with luck — the plastic will snap off the film and stay stuck to the plate. The plate will then lower to a position just a little bit higher than the last time and the whole process repeats.
The Trade-Off
Like all engineering, 3D printing is a series of trade-offs. In the case of the build plate, you want something that the hardened resin will stick to better than the film at the bottom of the tank. However, you also want something that will let go of the plastic when you want it to let go.

Most of the printers we’ve used just have a flat metal build plate. That works well, but it makes it very hard to remove prints. Using a scraper, you have to watch you don’t lose a finger or otherwise destroy the part. That’s the kind of build plate we found on the Nova3D printer. However, we quickly moved to a spring steel plate. It is similar in concept to what you do with an FDM printer. A magnetic sticker goes on the real build plate and the spring steel sticks to it. The only problem is you have to tell the printer that the build plate is now thicker than it thinks it is.

The other printer, the Photon M3, has a special laser-cut build surface that isn’t exactly smooth. Anycubic has used this on several printers and claims that it improves adhesion and also helps get a tool under the part for removal. You can see from the image that it has a sort of diamond pattern lightly engraved in the surface.
The Acid Test
Honestly, the brushed metal beds are painful. I’ve personally cut myself more than once trying to wedge off parts and — more than once — broken pieces of the part in the process. My bed has multiple scratches on it from these attempts.

The Photon M3’s bed is obviously better. I can’t speak for the better adhesion part because I normally don’t have that problem. But it does make it somewhat easier to wedge parts off. Presumably, the pattern gives the tool some gap to work with, but it is much less stressful to remove a part from the textured bed.
However, once you go to the spring steel, it is hard to go back, in my opinion. You can just pull the plate off and pop the whole thing in a washer. Then you can simply flex the plate and pop the part off. No tools, no cuts, no scratches. The plates are pretty cheap, so you can even have multiples and easily print a new part while the last one is washing.
Everybody Has One
The results, though, are worth the effort. The octopus on the Photon’s textured surface is easier to get off than the smooth metal bed, but it still wasn’t easy. The same octopus on a steel sheet is easy to handle and popped right off.


Of course, that’s my opinion. I’m sold on the flexible plate beds. What do you think? The only real disadvantage I’ve found is that you do have to modify the printer or the firmware to tell the printer not to drive the new thicker print bed down into the LCD. For the Nova3D, that involved printing a little shim that hits the limit switch a little earlier. Not a big deal, but not plug and play, either.
If you browse printer forums, you’ll find people who have gone the flexible build plate system seem happy, overall. There are a few cases of magnets not sticking or poor adhesion. But overwhelmingly, you hear positive stories. It makes me wonder why we haven’t seen any plates like this as a stock item or — at least — as an option with built-in support for offsetting the Z-axis sensor.
I’ll admit, I don’t resin print as often as I thought I would. Sure, the results are great. But the mess is substantial, especially if you are a little clumsy to start with. However, the spring steel bed really does help. The smell is the same, and the resin still drips everywhere, but at least you can easily remove prints. And handling them on a lightweight plate is easier than moving the entire print bed assembly around if you want to, say, throw it in the washer. Of course, if you don’t like it, it isn’t that hard to remove the magnetic sticker, undo your Z-axis mod, and go back to the way things were.
So what do you think? What kind of bed are you using for resin? Do you like it? Are there other options out there? Let us know in the comments and if you’ve done any good projects in this area, leave us a link.
We’ve talked about flexible plate beds before. If you haven’t tried resin printing yet, we can tell you a little about what to expect.